If you have multiple users working on the same database and project you will want to regularly save your data. The P6 commit and refresh will do this.
Primavera P6 Professional is a database-driven software program. Because of this it does not have a save button. The Primavera P6 client interfaces with a database that stores all your entered data. Saving your data to the database and viewing updates on your client computer screen requires both a database save and screen refresh done at regular intervals.
Primavera P6 Commit and Refresh
This article shows a graphical interface quick tip to rapidly save data to your database and refresh the client computer screen.
Function hotkeys are another efficient way to perform the P6 commit and refresh. Again, the intent of this article is to show a quick graphical interface for the commit and refresh Primavera P6 Professional features. Choosing one or the other may simply be personal preference. But the graphic interface may provide more insight into the commit changes status of your database.
Select File | Commit Changes or click the F10 function key to “commit changes” to your project. F10 is essentially the save button in Primavera P6 Professional and enters data into your database. You must commit changes in order to save your data to the database. No need to fear though. Primavera P6 commits your data at regular intervals and whenever Primavera P6 is closed, crashes included. And you will find in practice that Primavera P6 Professional also commits your changes after implementing any one of numerous other actions.
After committing data changes to the database promptly view these updates by selecting File | Refresh Data or the F5 hotkey to refresh your client computer screen. So once changes are committed to your database, press F5 to automatically populate these changes on your client computer screen. You’ll also find the F5 refresh button very helpful for resetting the screen graphics after the tile frames are adjusted.
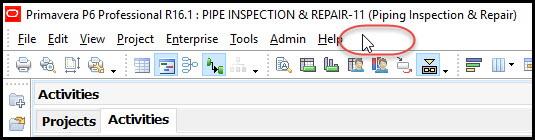
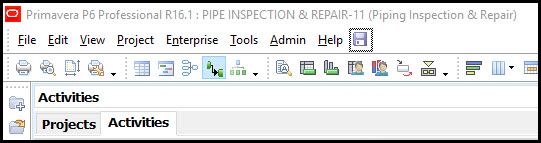
We have here the making of a two-step process commit changes, F10, and refresh the client screen, F5. The graphical interface way to commit and refresh locates these feature icons next to the main menu for quick access. Let’s demonstrate. Right click next to the main menu, Figure 1.
 Figure 1
Select customize from the popup menu, Figure 2.
Figure 2
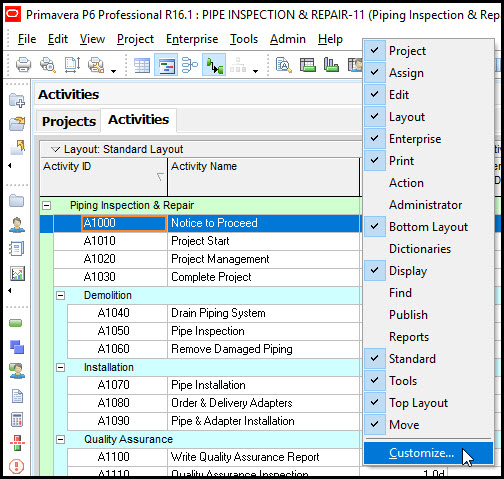
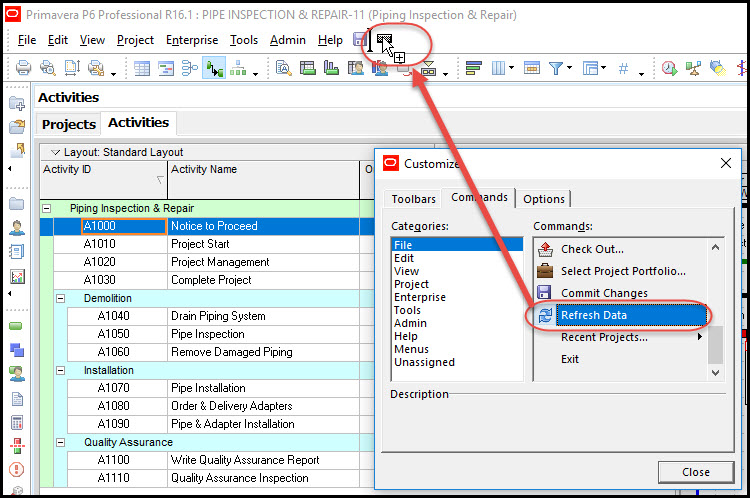
In the customize dialog choose the commands tab and select the feature of interest, such as, commit changes, Figure 3.
Figure 3
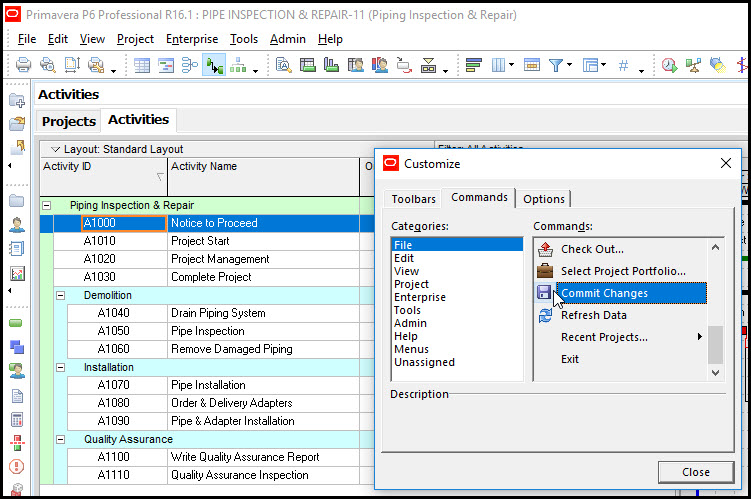
Click, drag, and drop the feature next to the main menu, Figure 4.
Figure 4
The commit changes icon will then appear next to the main menu, Figure 5.
Figure 5
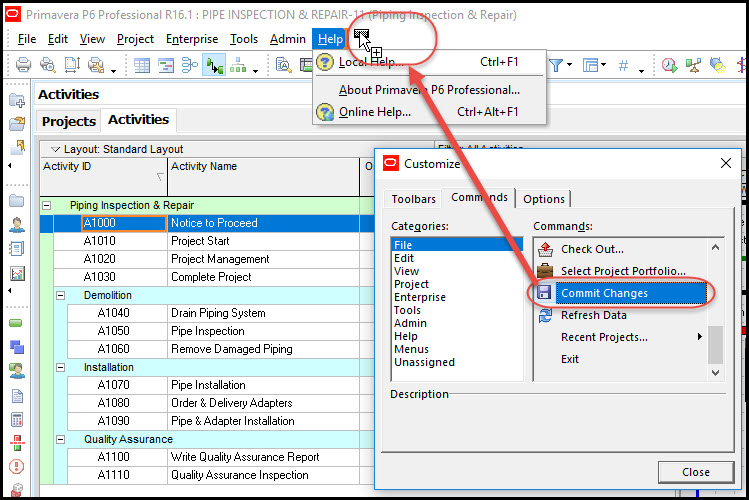
Repeat click, drag, and drop for the refresh data icon, Figure 6.
Figure 6
Now our two features appear next the main menu for prompt access, Figure 7.
Figure 7
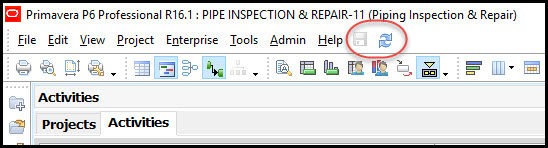
You will find the refresh icon particularly helpful when the tile graphics needs a quick refresh. The commit icon also has value as a save or commit indicator. When changes have been committed this icon is dimmed or “ghosted out”, as is the case in Figure 7.
But the save icon is mainly helpful as an indicator that changes have been made. I find that this commit icon does not always go dim when changes have been committed. This may be because the graphics of this commit icon has its own refresh issues. But if it is dim you can definitely be confident that your updates have been saved.
Summary
The database driven nature of Primavera P6 Professional requires committing (or pushing) data to the database and refreshing the client computer screen to view these changes. Primavera P6 provides both hotkey and graphical interface quick access to these commit and refresh features to support their repetitive use throughout the project scheduling and updating processes. The commit icon, in particular, may provide more insight into the save status of your project.