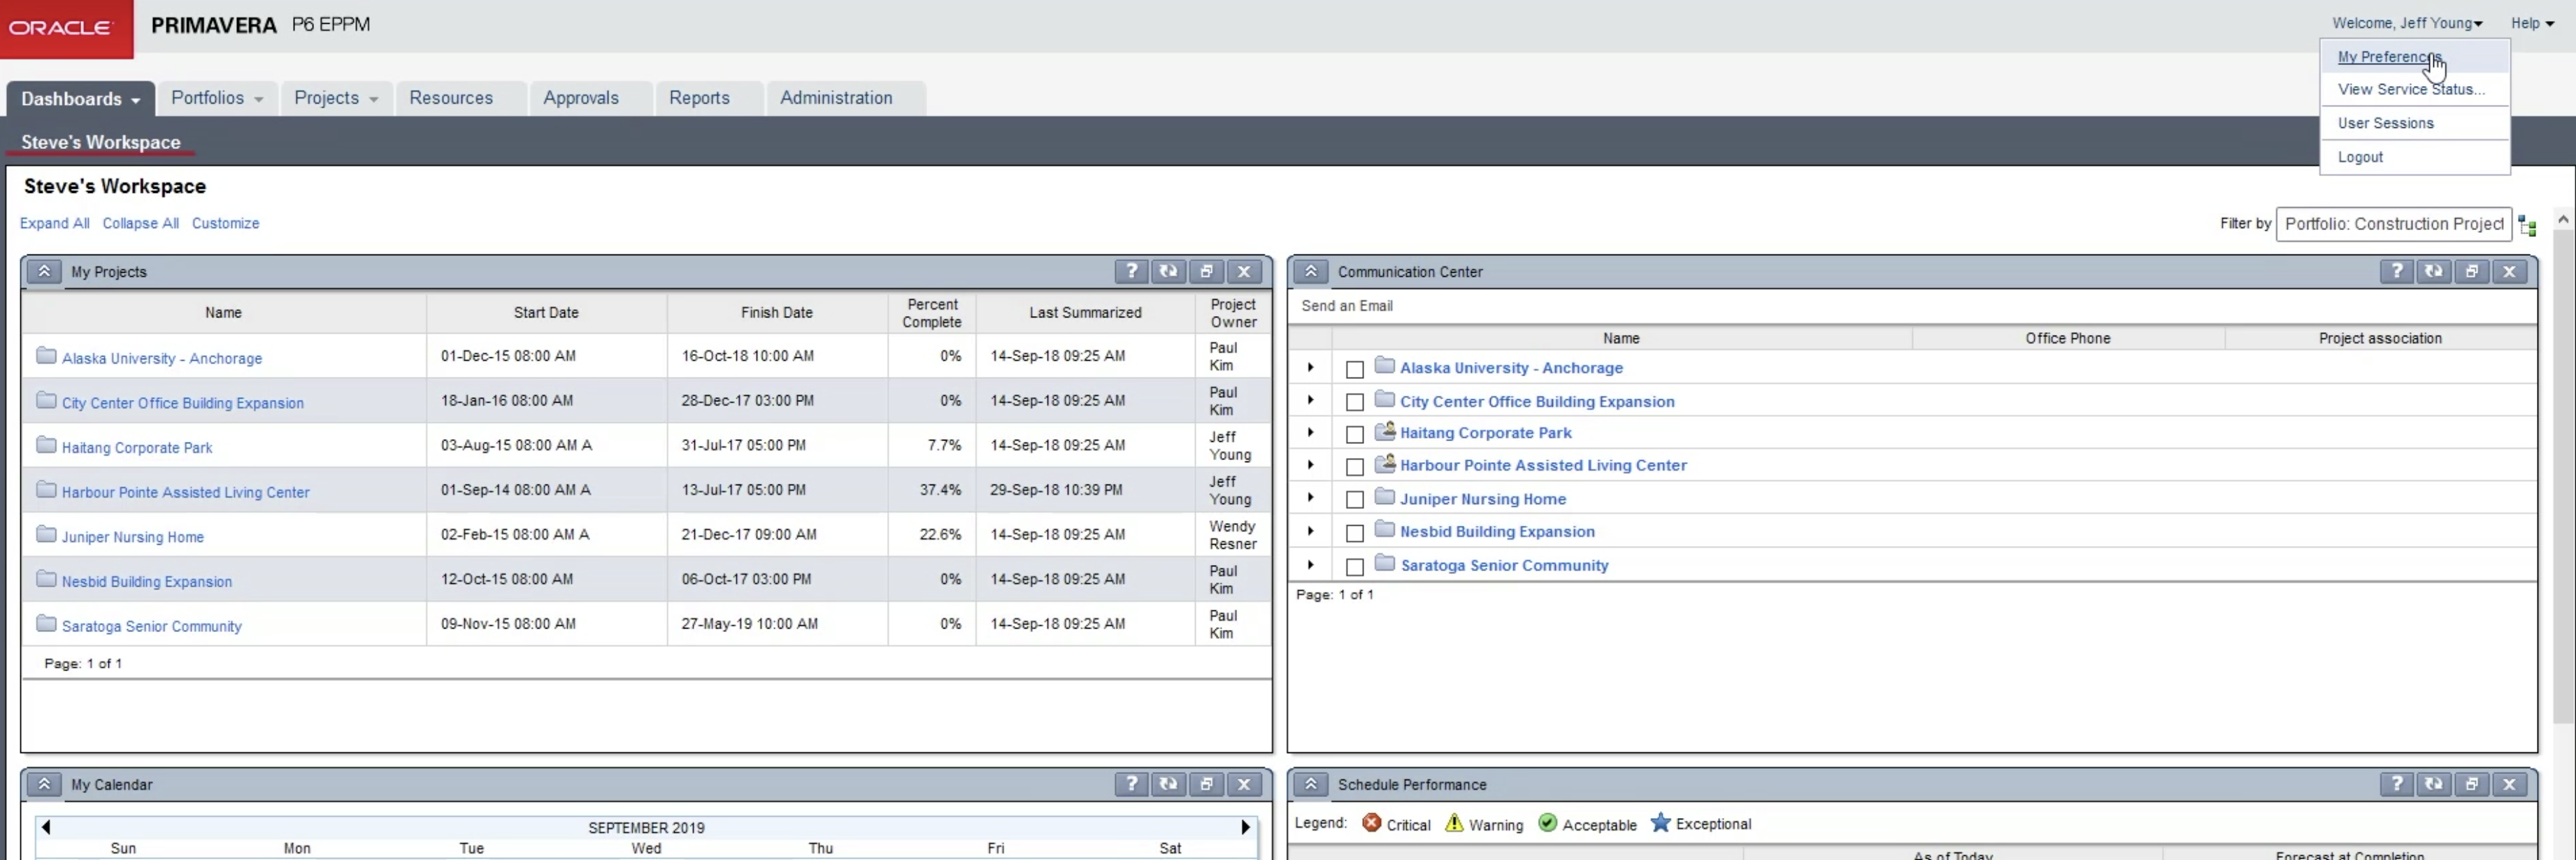
User Preferences in Primavera P6 EPPM are active every time a user logs in. To access the user preferences, we enter the dashboard page and on the far right-hand side next to ‘Welcome’ we right-click. We scroll down and select ‘My Preferences’, as shown below in Figure 1.
 Figure 1
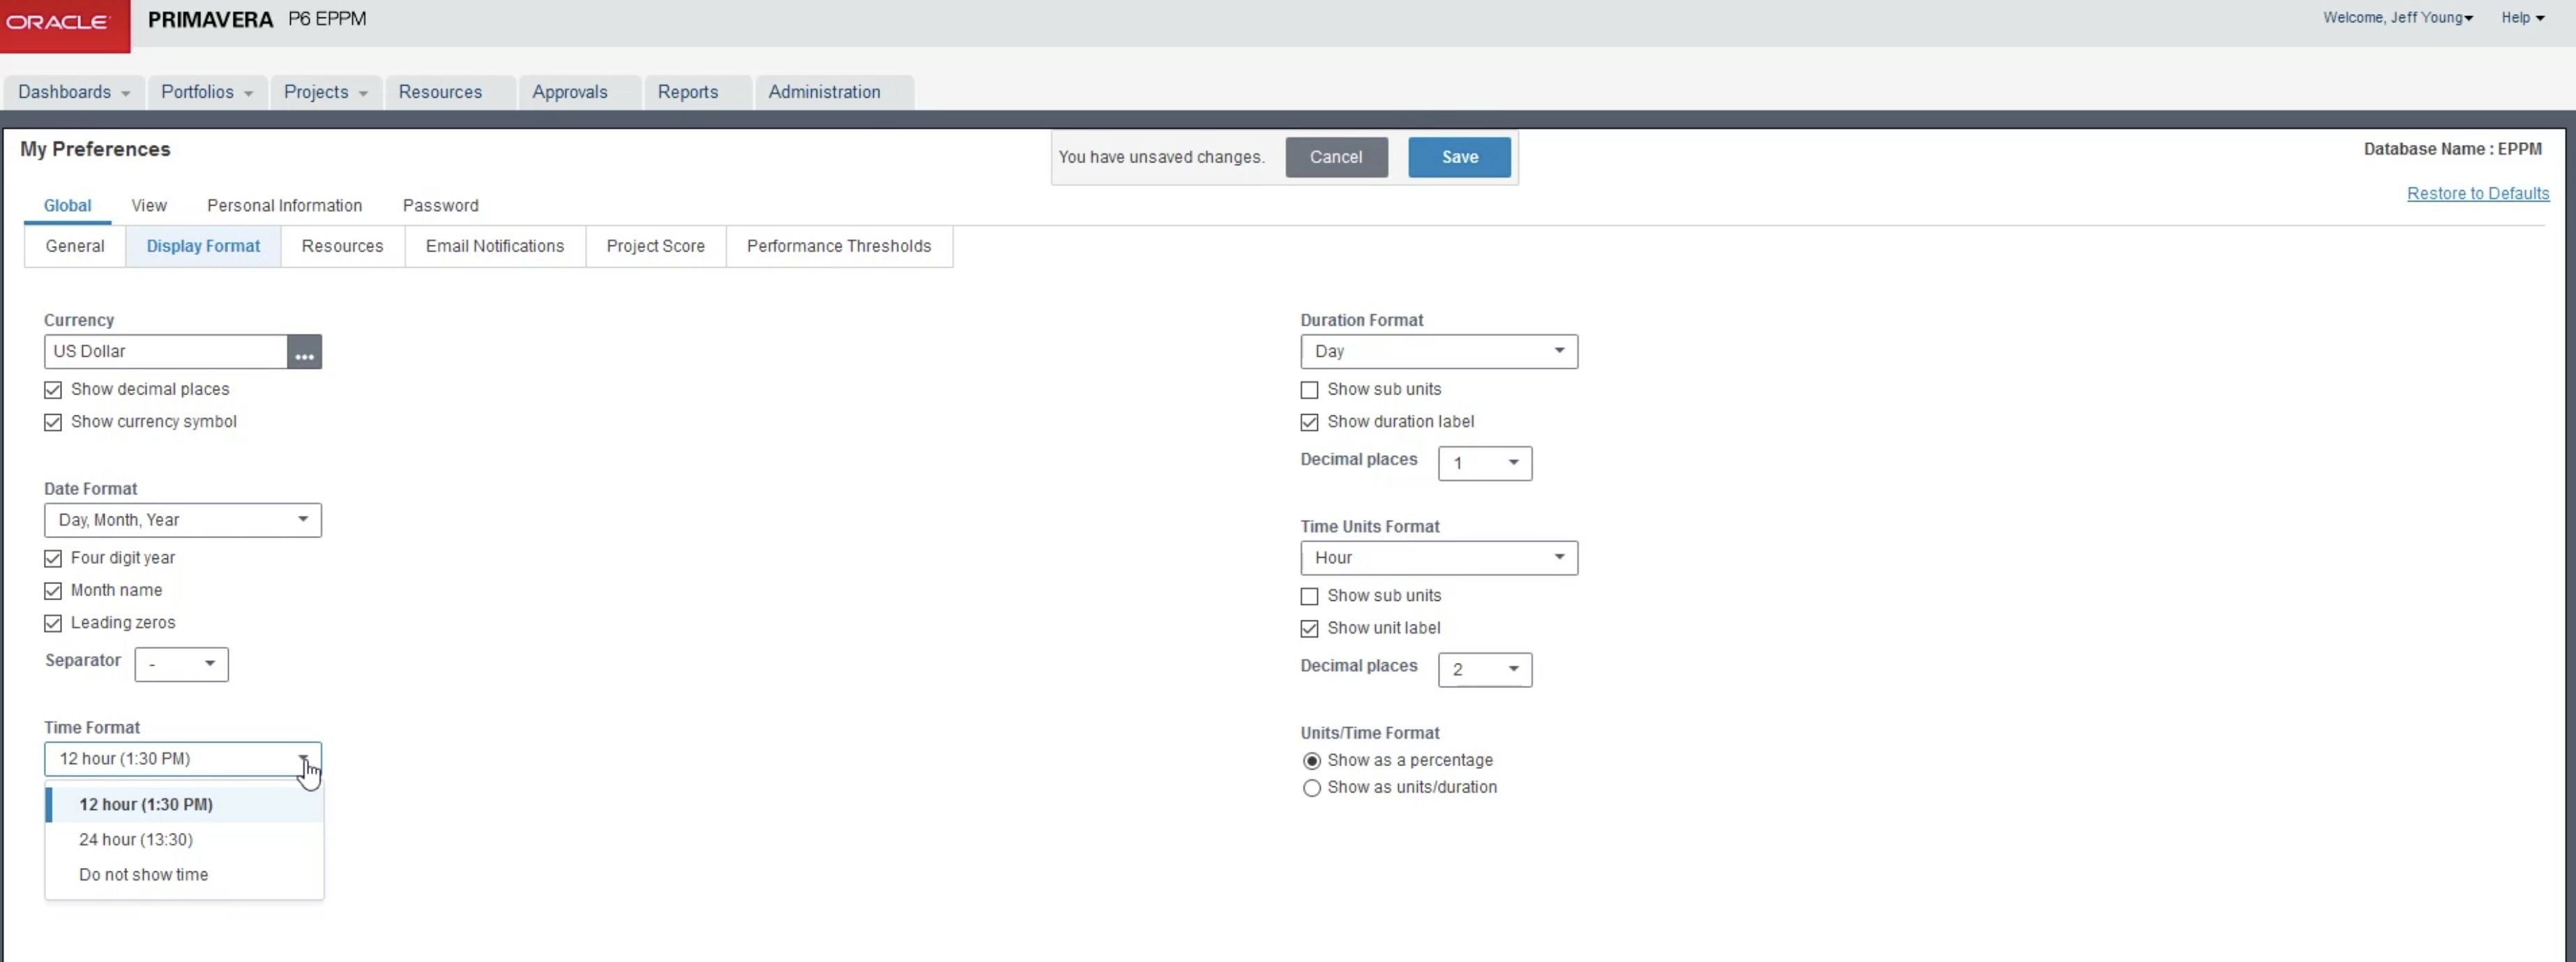
In the My Preferences page, we select the ‘Display Format’ tab. First, we view the items on the left-hand side of the page starting with ‘Currency’ that we want for our project. We select ‘US Dollar’ and check the boxes to ‘show decimal places’ and ‘to show currency symbol’.
We move on to the ‘Date Format’ where we select ‘Day, Month, Year’ and check the boxes for ‘Four-digit year’, ‘Month name’, and ‘Leading zeros’. Lastly, we move to ‘Time Format’ we select 12- hour as our timestamp from the drop-down menu. The benefit of displaying a 12- hour time stamp is if we had an activity that commenced on April 13 with a time stamp we could ascertain what time of the day the activity starts.
Without a timestamp, we wouldn’t have a record of the activity’s start time which would complicate the activity duration, as shown in Figure 2. There are occasions when we may not want to show any time, but on those occasions, we can return to the ‘Time Format’ and select ‘Do not show time’. An example of this is if we were printing our schedule out for a stakeholder meeting.
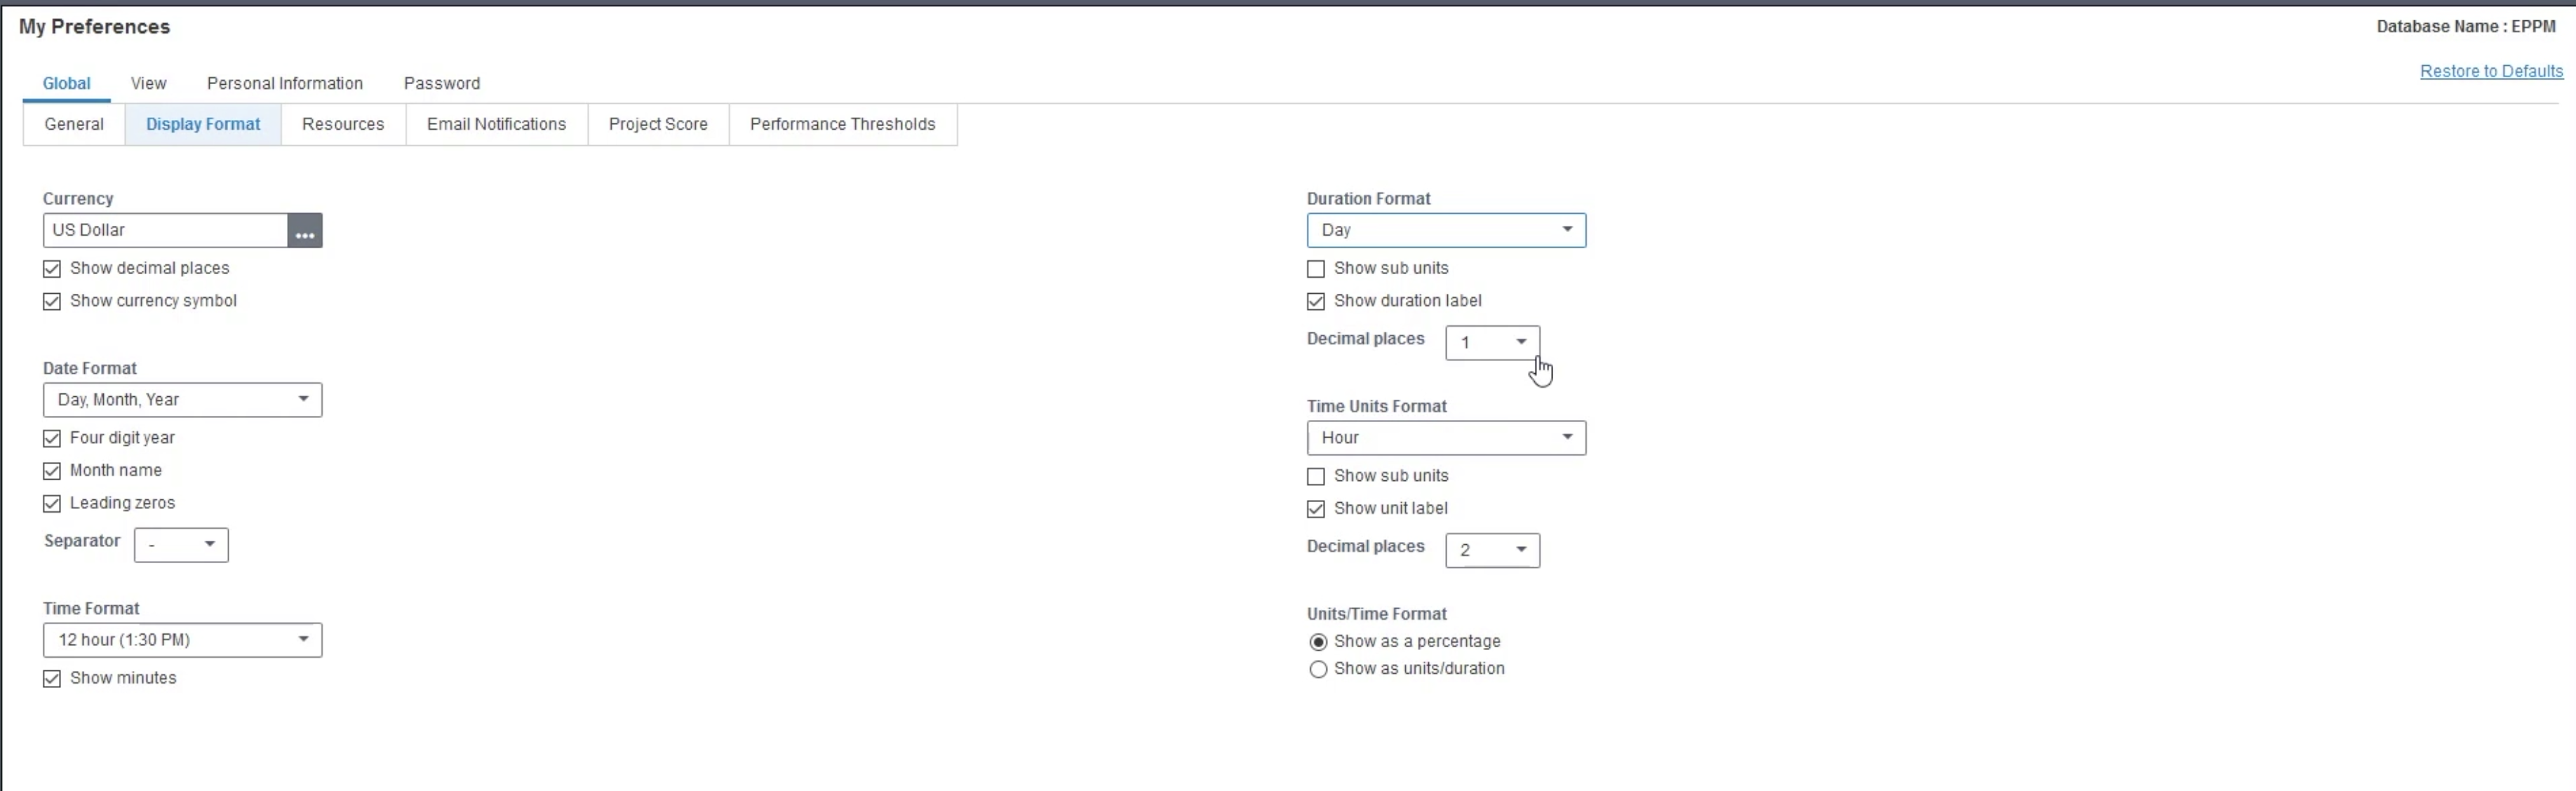
Typically, with all the information displayed on a schedule, the room is tight if we want to print out on one sheet of paper. We would have to adjust the width of our columns for the start and finish of our activities, therefore if we remove the time stamp we would claim more area. We save our work at the top of the page.
Figure 2
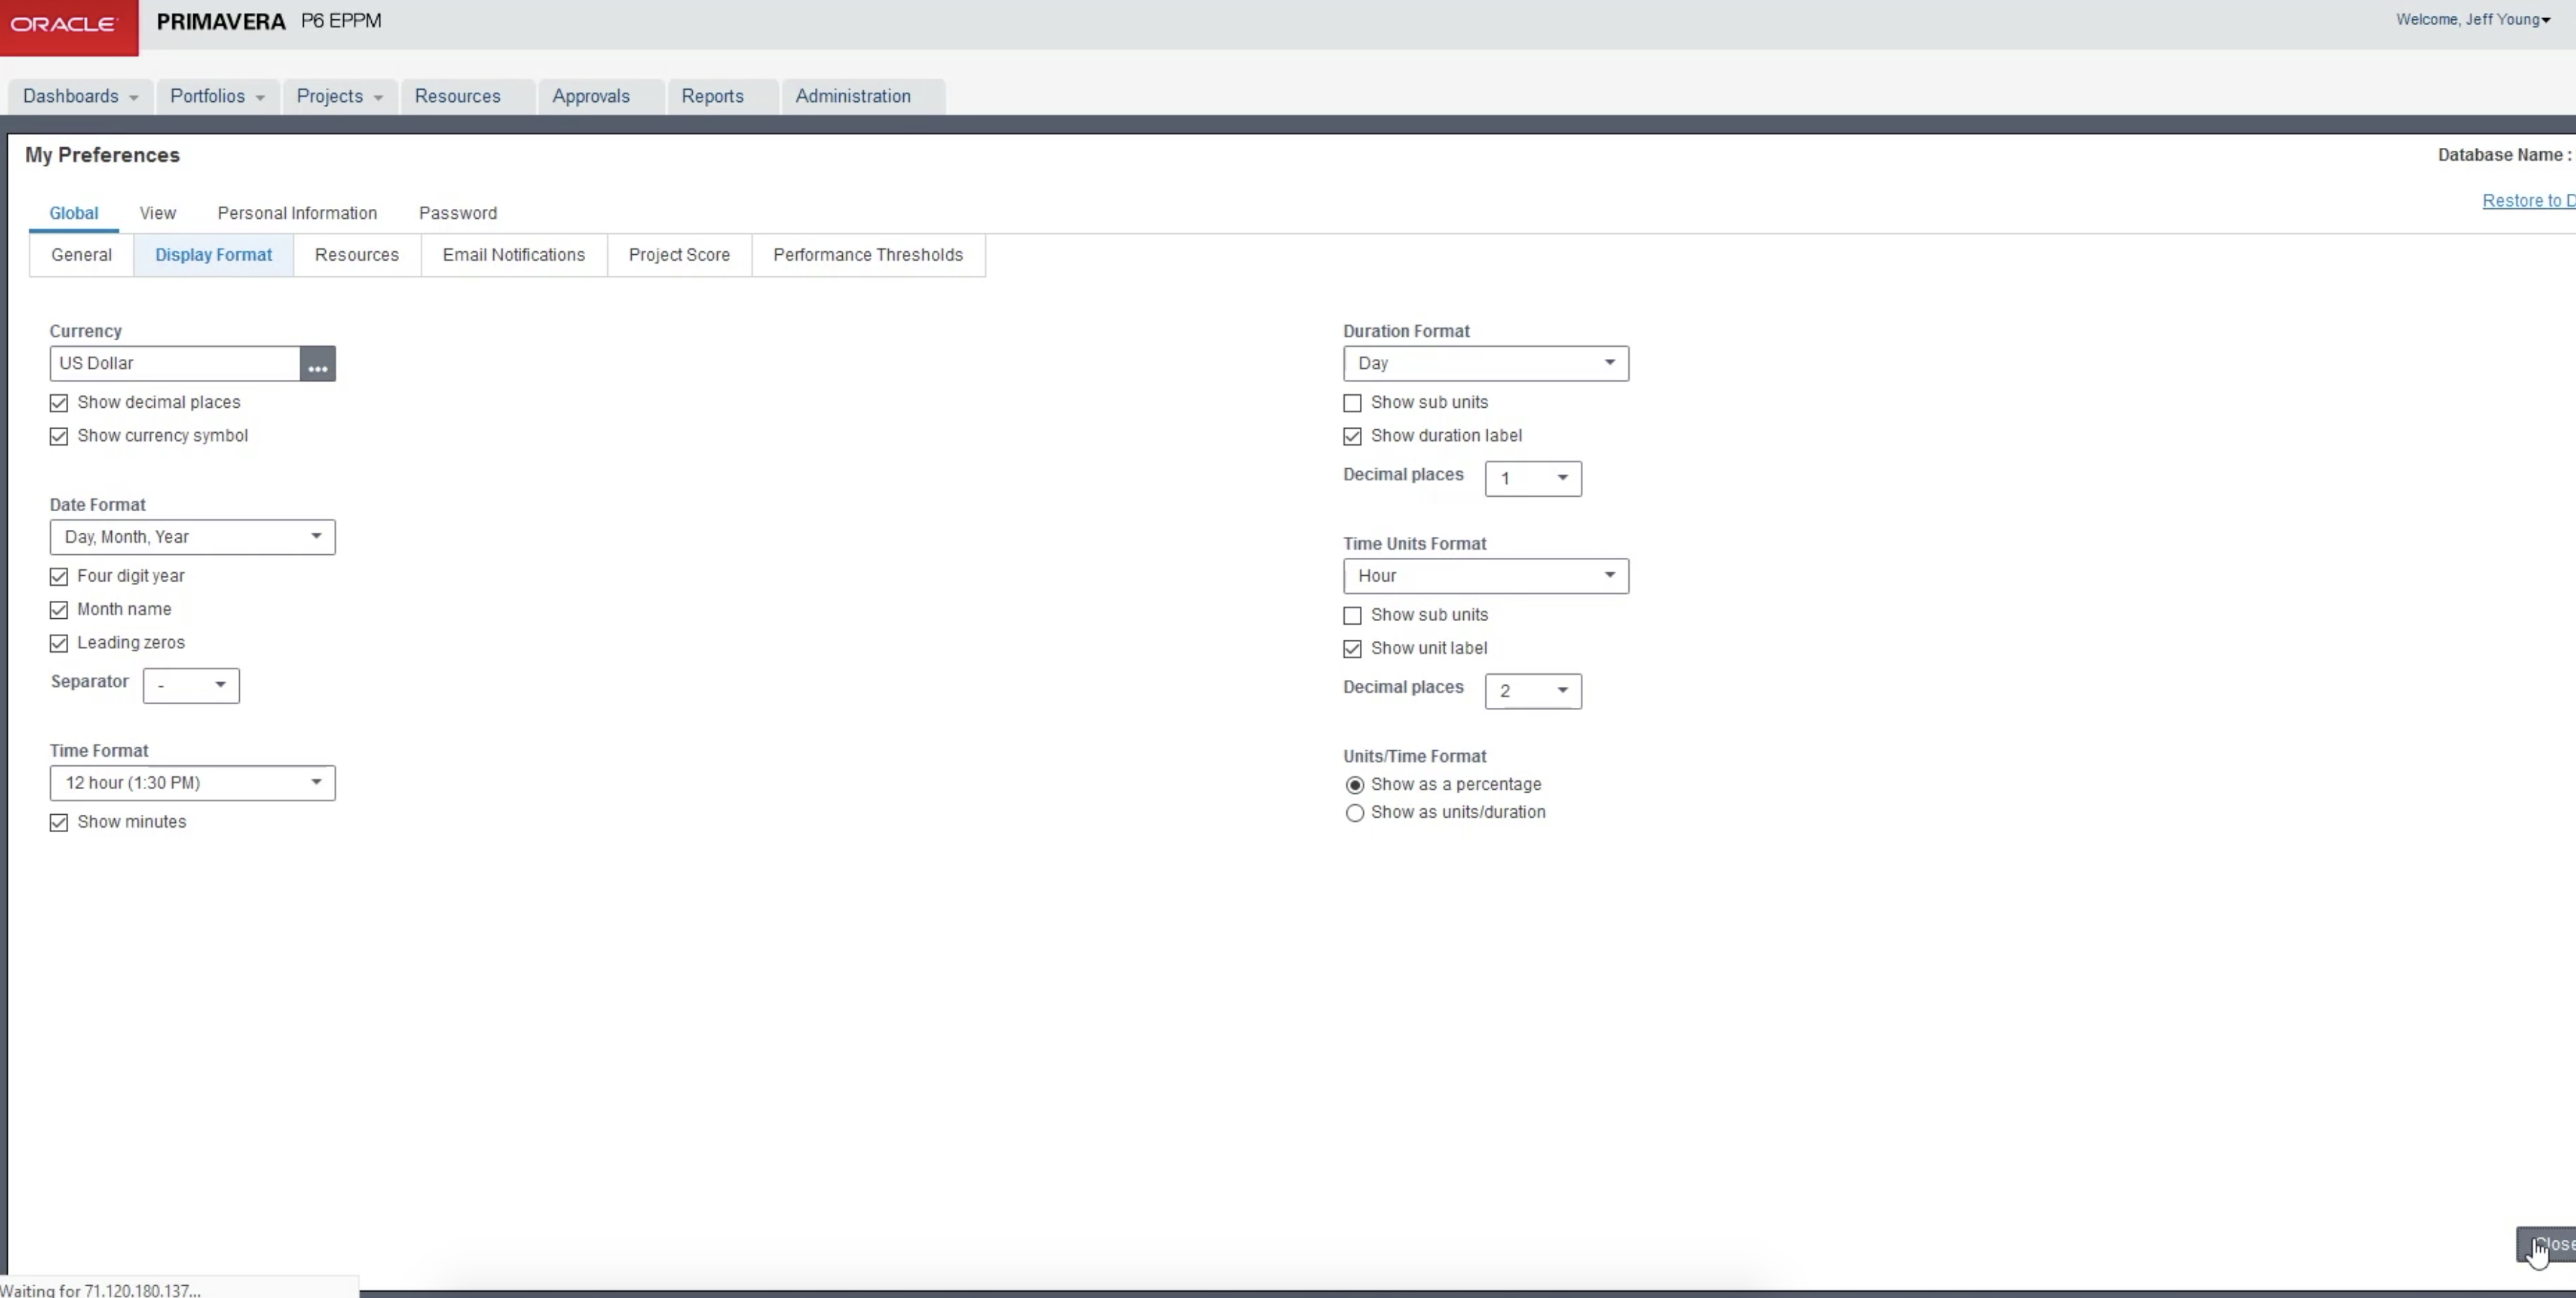
On the right-hand side of the page, we look at ‘Duration Format’. There are different options from the drop-down menu ranging from an hour to a year. Schedulers often work in days although very detailed schedules may work in hours. We select ‘Day’ and check the box to ‘show duration label.’ Finally, we select one ‘Decimal Places’ as shown in Figure 3.
Figure 3
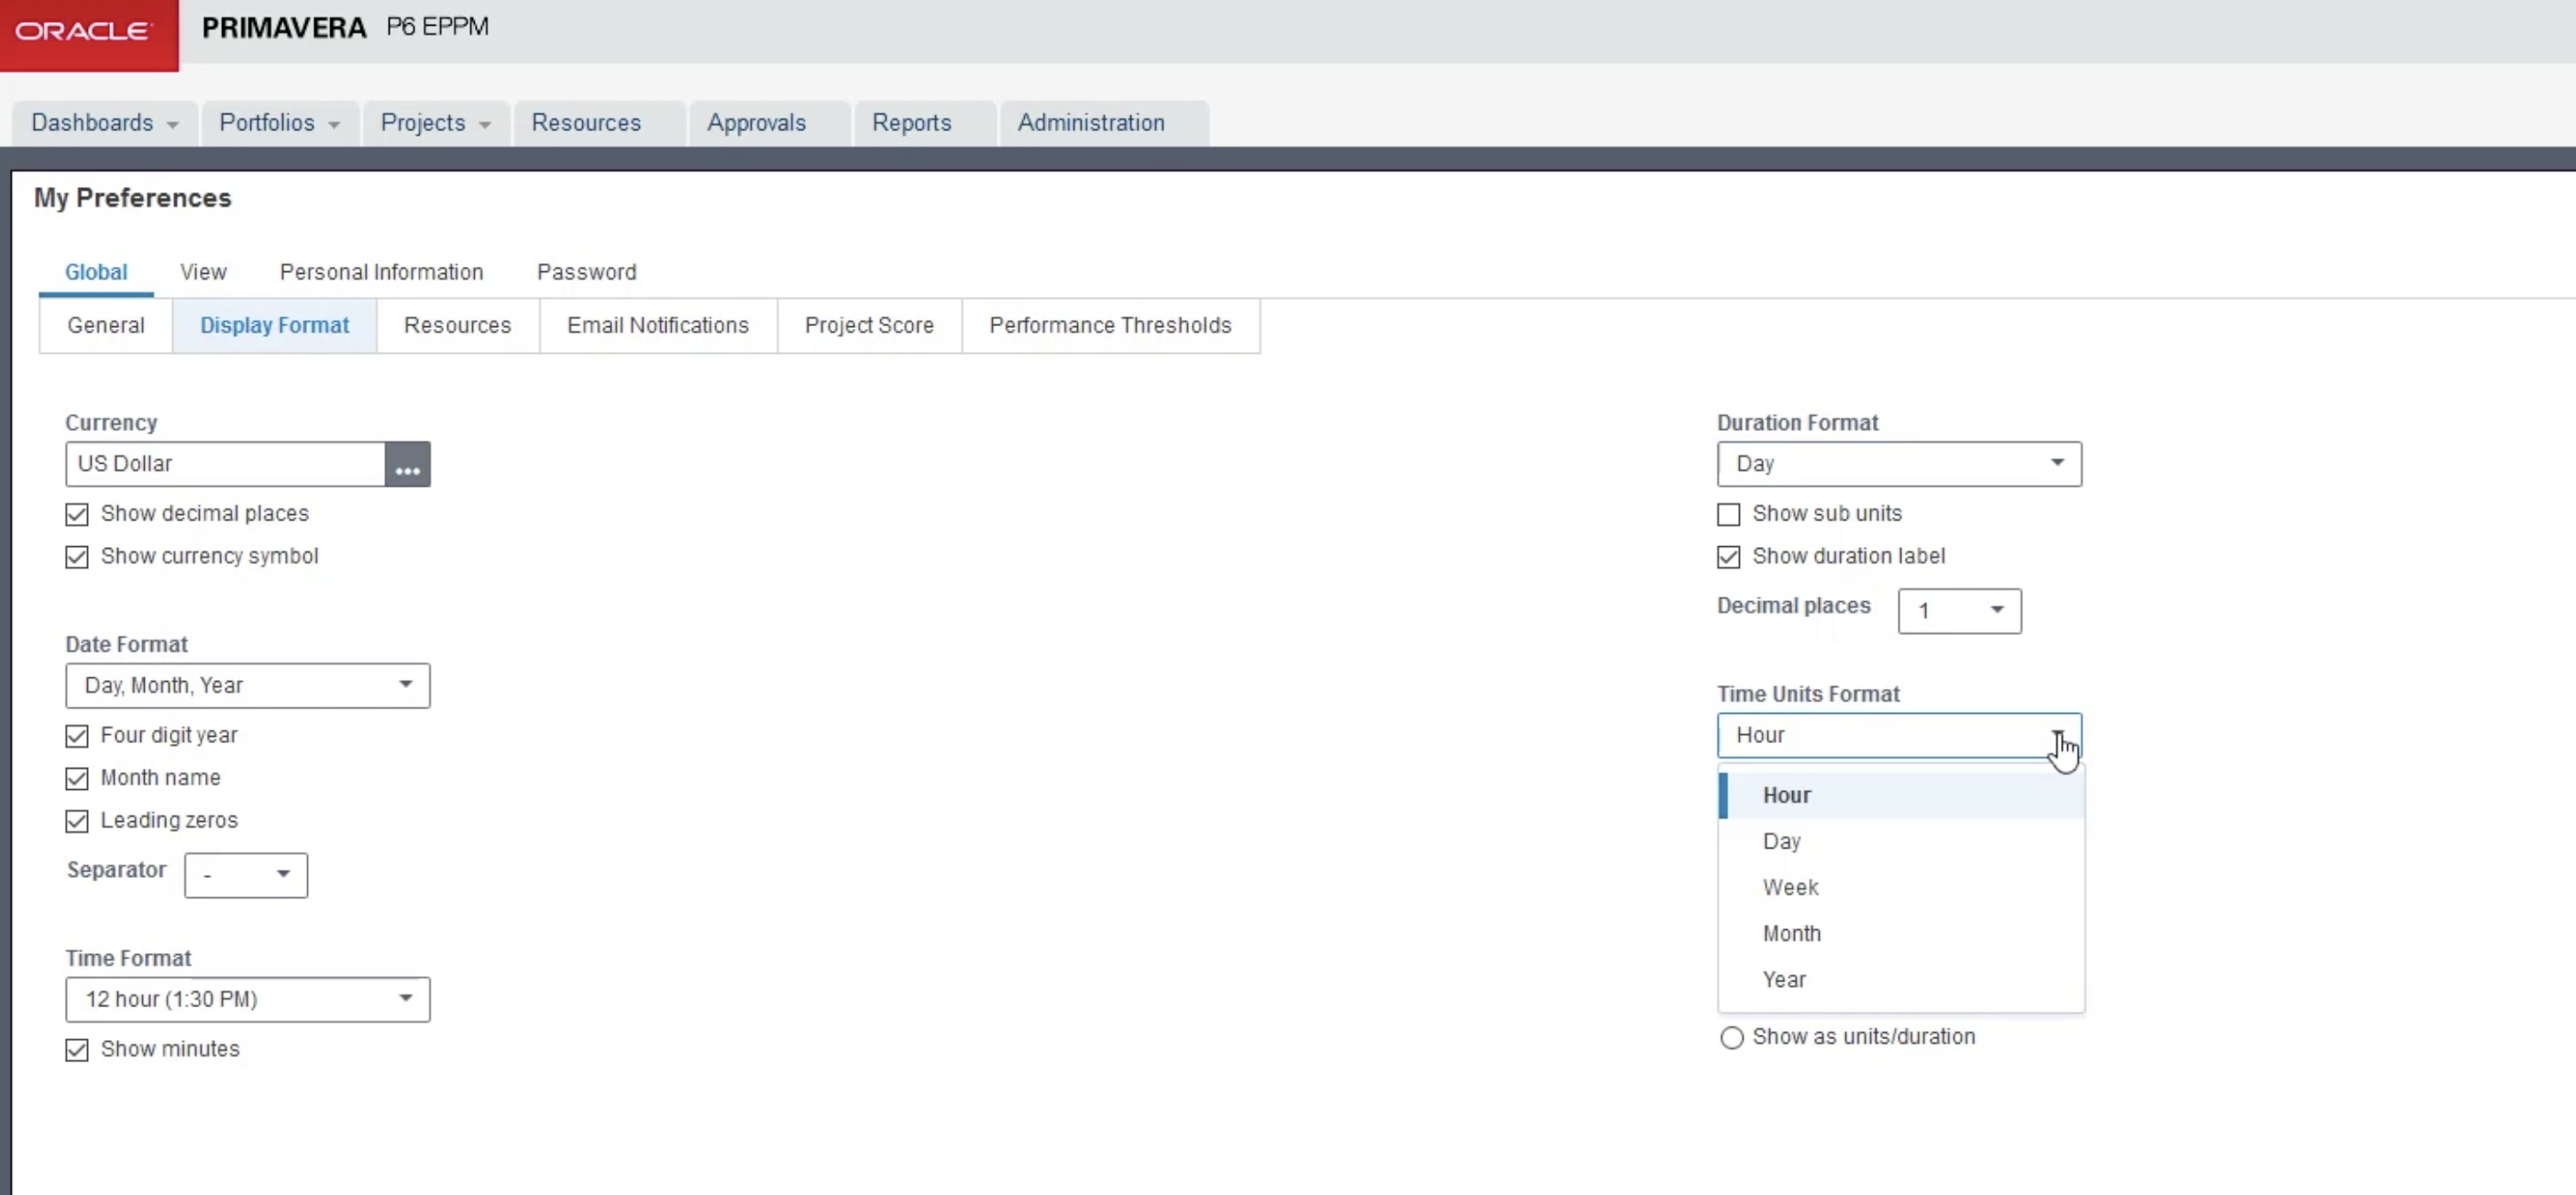
The ‘Time Units Format’ box has a drop-down menu with options ranging from hour, to year. We select ‘Hour’ because resources typically report work in hours. We ‘Show the unit label’ by checking the box and select 2 ‘Decimal places’ as shown in Figure 4.
Figure 4
Finally, we turn our attention to ‘Units/Time Format.’ There are two choices; ‘Show as a percentage’ or ‘Show as units/duration.’ It is a personal preference how we want to record our resource time; we select ‘Show as a percentage’. Therefore, if one of our resources who has a working day limit of 8 hours only works 4 hours, his time will be recorded as 50% for that period, as displayed in Figure 5.
If we had selected ‘Show as units/duration’ and the same resource worked 4 hours of his 8-hour working day it would be recorded as 4h/d. When we select close, we return to the dashboard page.
Figure 5
Summary
User Preferences in Primavera P6 EPPM allows the user the option of exploring the different features available and setting up the schedule to suit their needs as well as offering support to activities, durations, and resources.
Often a project specification will determine some elements such as the amount of time a resource will work in a day, but the user will still have a choice of whether to display this information as a percentage of time or as a unit of duration.