This article shows how to setup Deltek Cobra integration with Primavera P6. We will take you through the process, step-by-step and complete with screens shots, showing you exactly what you need to do.
Overview
In summary, the steps to setup Deltek Cobra integration with Primavera P6 are as follows:
- Install a recent version of Java Runtime Environment (JRE)
- Set your JAVA_HOME environment variable
- Install Microsoft SQL Server Express 2019 or later
- Install the SQL Server Management Studio
- Open the TCP/IP port for network access
- Run the Primavera P6 dbsetup.bat application to build a new Primavera P6 database
- Install Primavera P6 Professional client – if not already installed.
- Create an ODBC Data Source that points to the new Primavera P6 Database
- Create a connection to the P6 data source in Cobra’s Integration Wizard
Architecture
The basic architecture for the Deltek Cobra integration with Primavera P6 integration is setup as follows.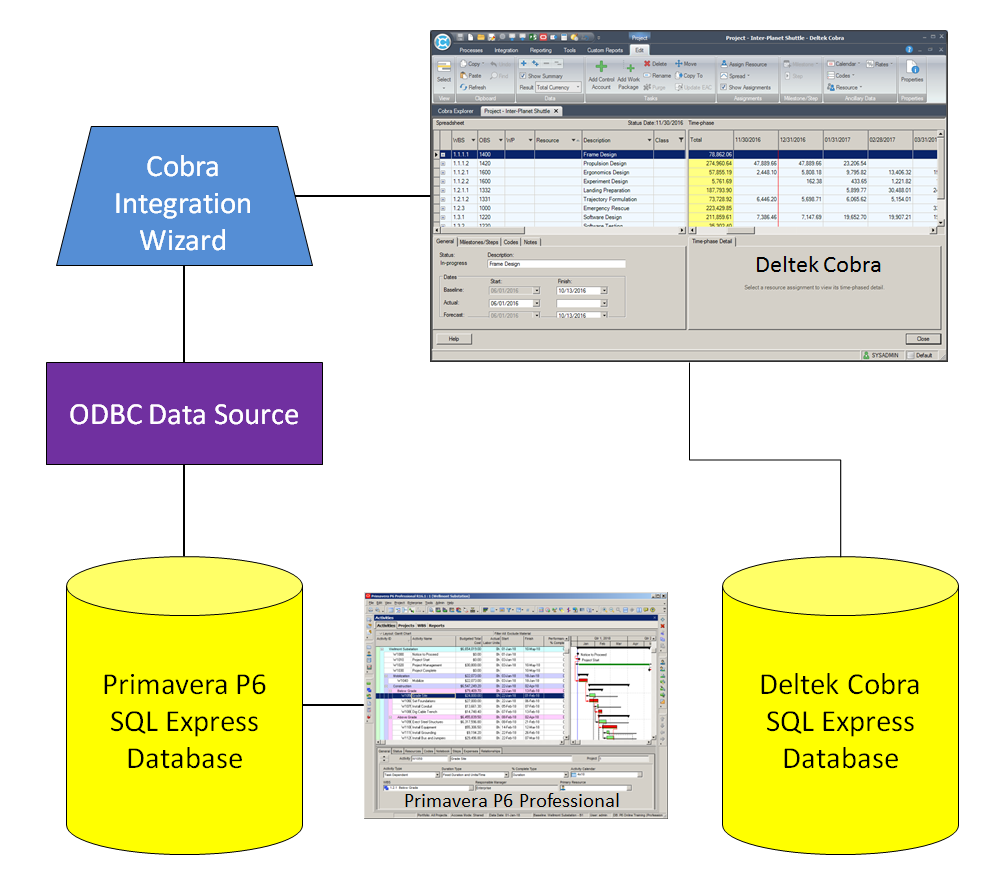 This article shows the steps for installing Microsoft SQL Server Express 2019 or later for a standalone database. It will then show you how to install Primavera P6 Professional and create a PPMDB database in the SQL Server P6 database. Finally, you will see how to integrate Deltek Cobra with this standalone version of P6 Professional.
Important:
You will need to obtain/download/install or confirm the presence of the following software on your workstation:
- Java Runtime Environment (JRE) Version 8, Update 51 or later
- Deltek Cobra 8.3 or later
- Deltek Cobra HotFix#n (the latest Cobra Hotfix file from Deltek)
- Microsoft SQL Server Express 2019 media package (SQLServer2019-SSEI-Expr.exe) or earlier. Other versions will also work including 2008 R2, 2010, 2012, 2014, and 2017
- Microsoft SQL Server Management Studio (SSMS-Setup-ENU.exe)
- Microsoft .NET Framework 4.5 (if not already installed on your operating system)
Recommended Operating Systems
- Microsoft Windows 7 Home or Professional (SP1)
- Microsoft Windows 10 Home or Professional
Step 1 – Install Java
You will need a recent copy of Java Runtime Environment (JRE) installed on your machine. For example, if you are installing Primavera P6 Professional you will need Java 8 Update 51.
If you have no Java installed on your machine, follow these next steps.
- Download a recent version of Java 8 to your machine
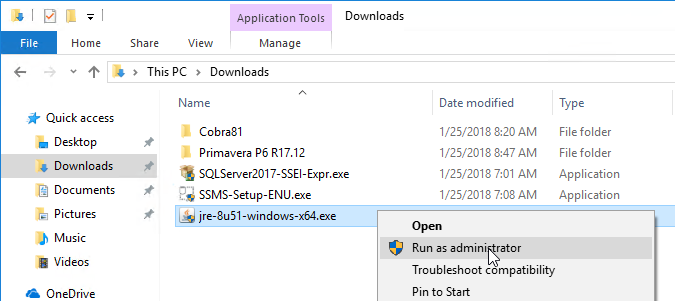
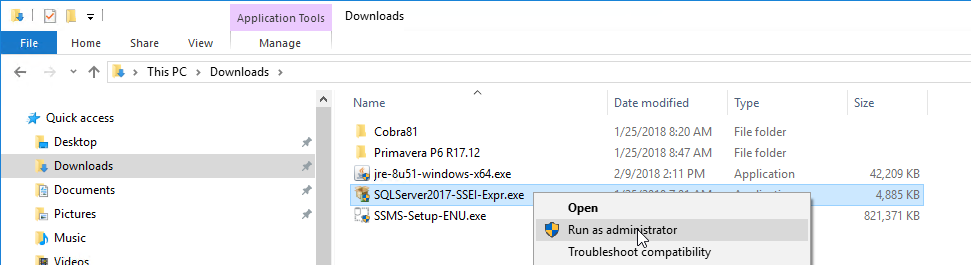
- In the download directory right –click and run the download file as administrator (in this example, jre-8u51-windows-x64.exe).

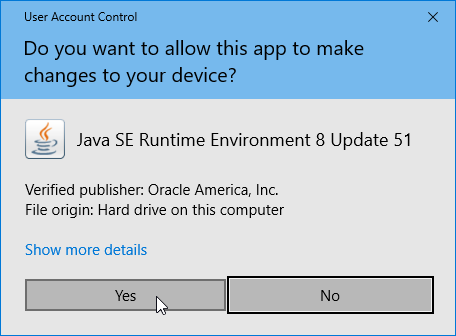
- In the User Account Control dialog, click Yes
- In the Java dialog, click Install
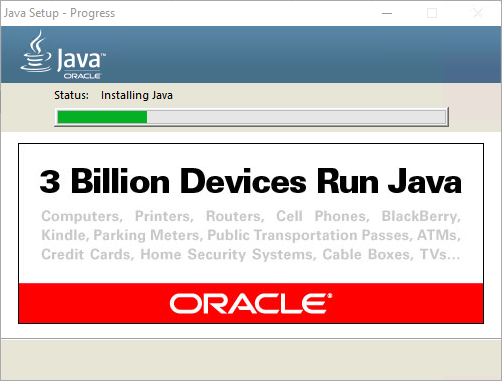
- In the subsequent Progress dialog, be impressed with the large number of devices that run Java while observing progress of the install
- In the Java Setup – Complete dialog, click Close
- Congrats, your machine is now the 3 billionth-and-first device using Java

Step 2 – Setup your JAVA_HOME Environment Variable
Some more antiquated software applications still use Windows Environment Variables to find out where certain files are on your particular system. Before we can run the dbsetup.bat program to build your Primavera P6 Professional database schema, we will need to tell the JRE where the Java Home directory is. These next steps will assist you with this process.
- Open a Windows File Explorer
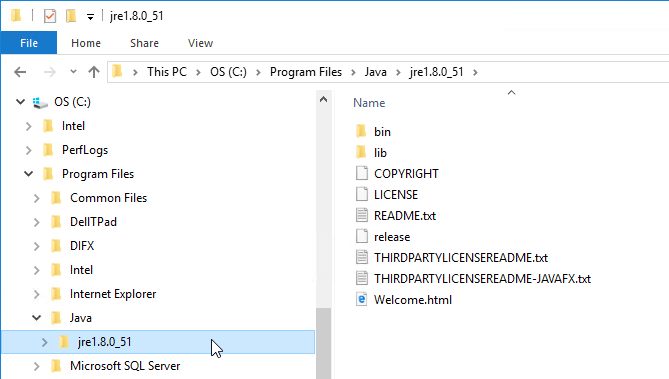
- Locate your Java installation directory and select it
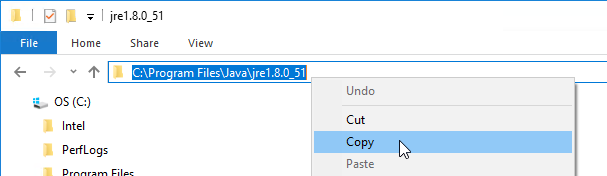
- Click on the Path field at the top of the File Explorer and copy the path to the clipboard
- Windows 7 Users – Click on your Windows Start menu and in the Search field enter ‘Environment’
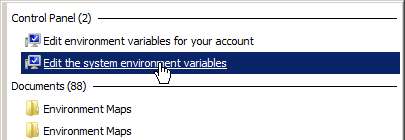
- In the results area at the top of the popup, click on the ‘Edit the system environment variables’ option
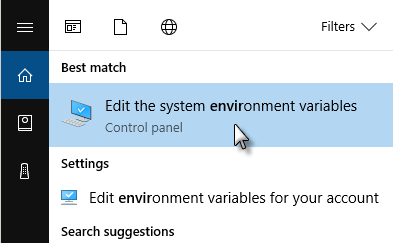
- Windows 10 Users – type ‘environment’ in the search field
- In the results area click on the ‘Edit the system environment variables’ option
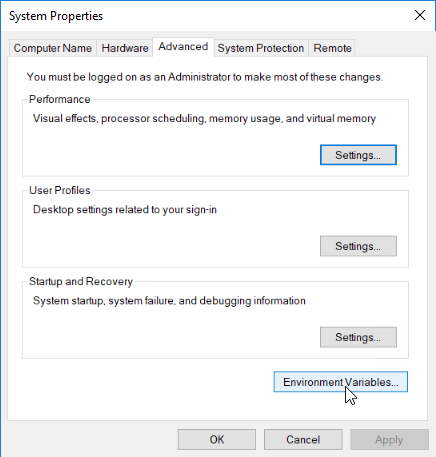
- Windows 7 & 10 Users – In the resulting System Properties dialog click on the Environment Variables…
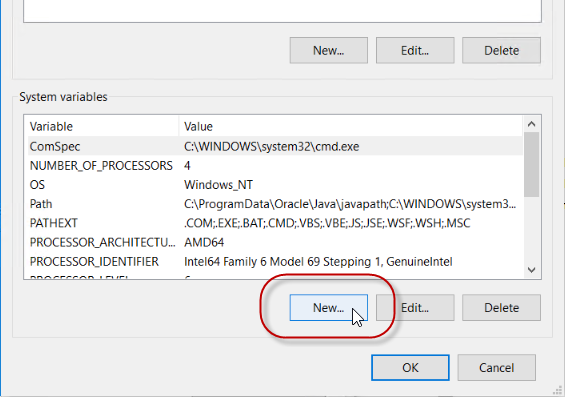
- In the lower ‘System Variables’ area of the Environment Variables dialog, click on the New…
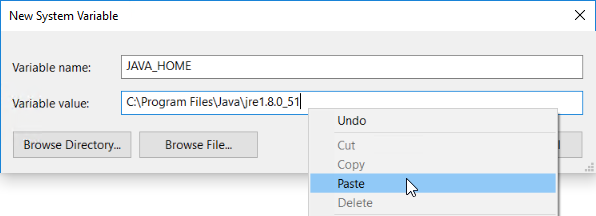
- In the New System Variable dialog, enter JAVA_HOME in the Variable Name
- In the Variable Value field, paste the path to your JRE installation that you copied earlier
- Click OK
- Verify that your new environment variable has been added to the list of existing variables
- Close all the remaining dialogs and you are now ready to continue with the remaining setup items


Step 3 – Installing the SQL Server Database
These next steps will assist you installing a Microsoft SQL Server Express database on your workstation. In this example the SQL Express 2017 version will be installed on Windows 10. This is basically identical if you are installing the later 2019 version of SQL Server.
- Locate and run the Microsoft SQL Server Express installation media file you downloaded
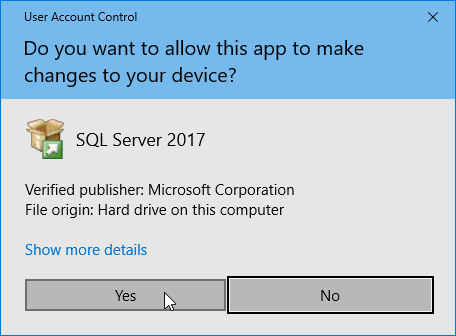
- Click Yes to the User Account Control
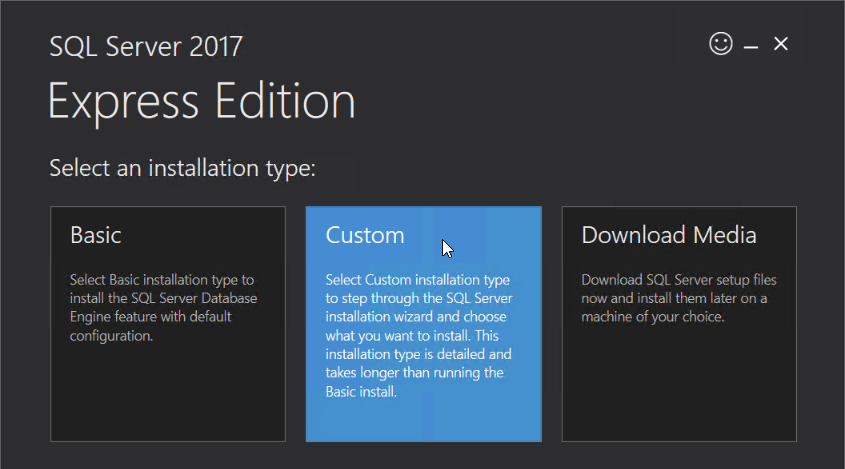
- When prompted, go with the Basic installation option
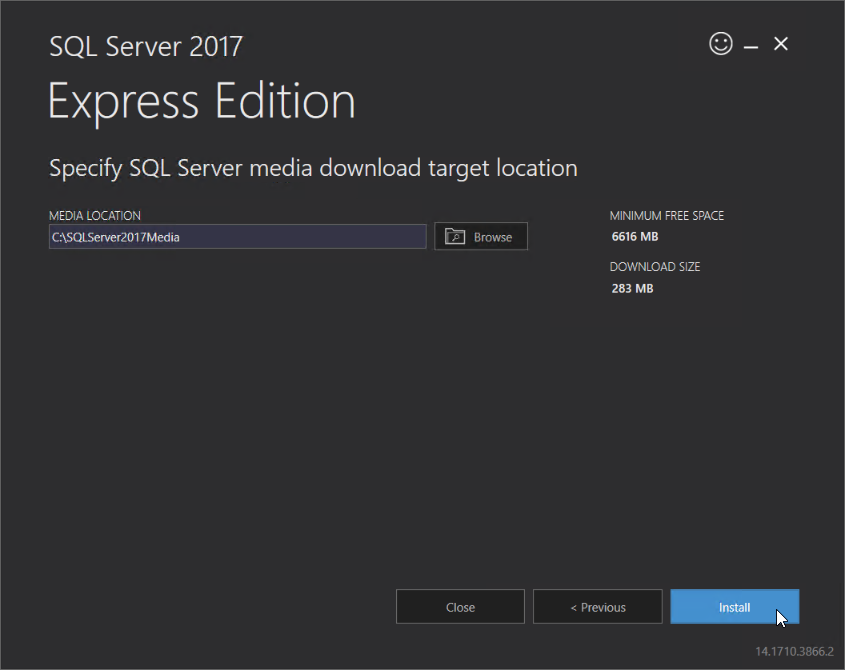
- Go with the default installation location by clicking Install
- The installer will download packages from the internet and then start the installation process. This may take a few minutes
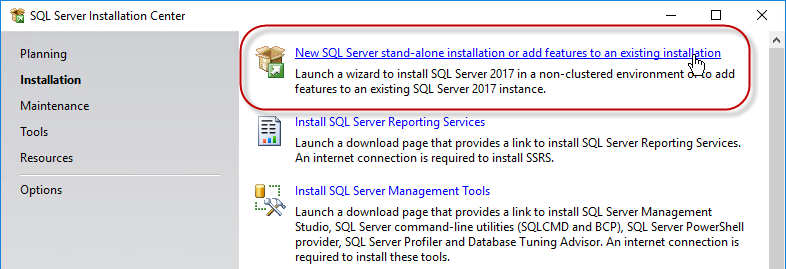
- In the SQL Server Installation Center dialog, click on the ‘New SQL Server Stand-alone installation…etc.’ option
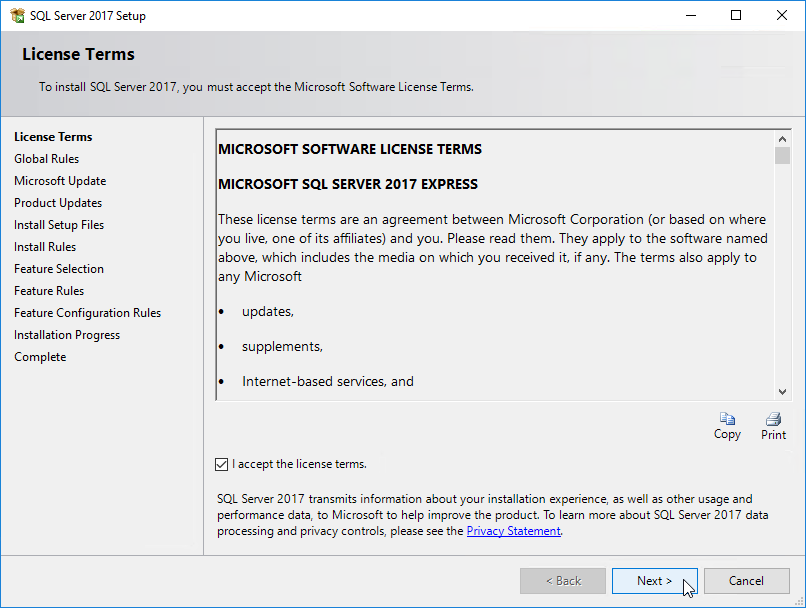
- Accept the License Terms and click Next >
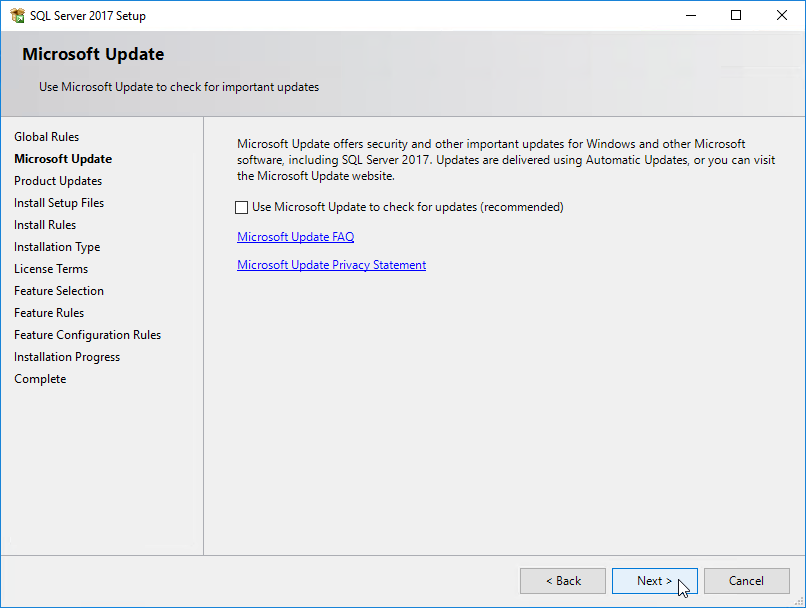
- In the Microsoft Update dialog, click Next >
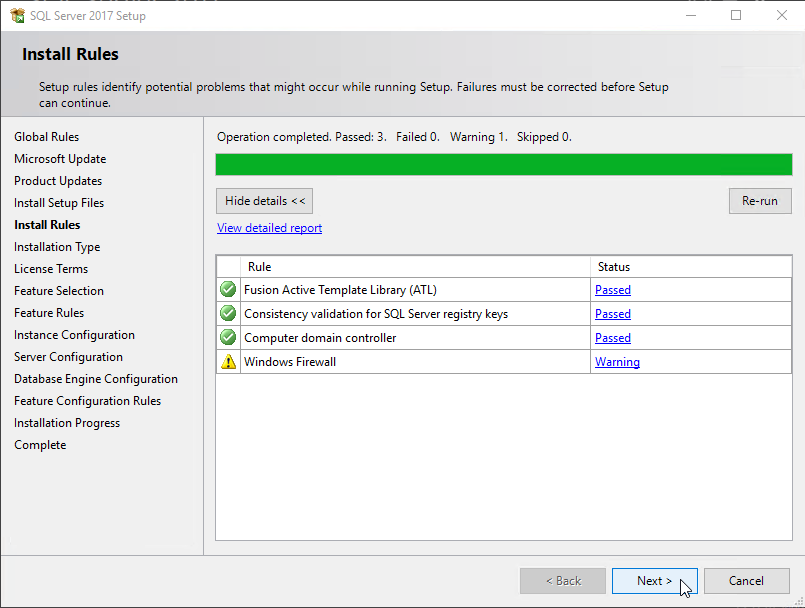
- In the Install Rules dialog click Next >
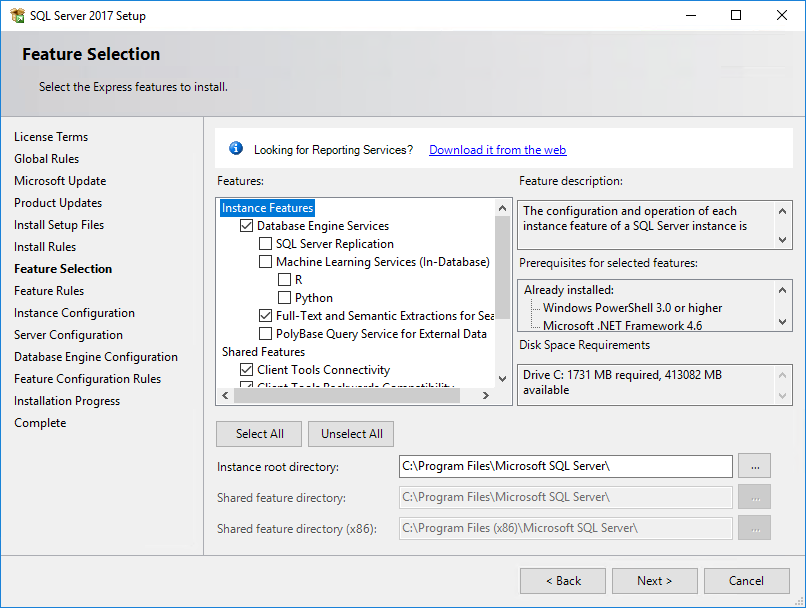
- In the Features Selection dialog, uncheck the SQL Server Replication and Machine Leaning Service
- Click Next >
- In the Instance Configuration go with the default Named Instance: SQLExpress
- Click Next >
- In the Server Configuration dialog, go with the defaults and click Next >
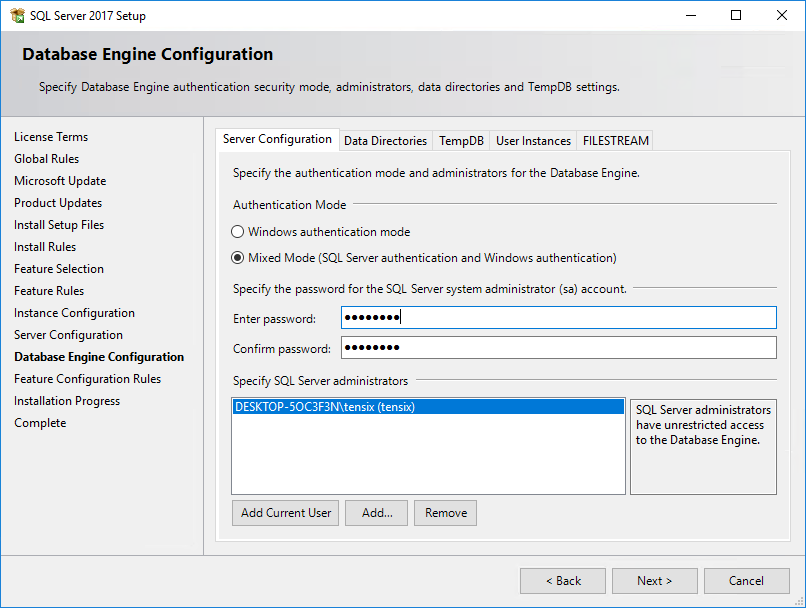
- In the Database Engine Configuration go with Mixed Mode (SQL Server authentication and Windows authentication). Then enter and confirm a password.TIP: Make a careful note of your password and keep it safe. You will need it for later access.
- Click Next >.SQL Server Express 2017 will begin installing on your system. This may take several minutes
- When the process is complete, click Close
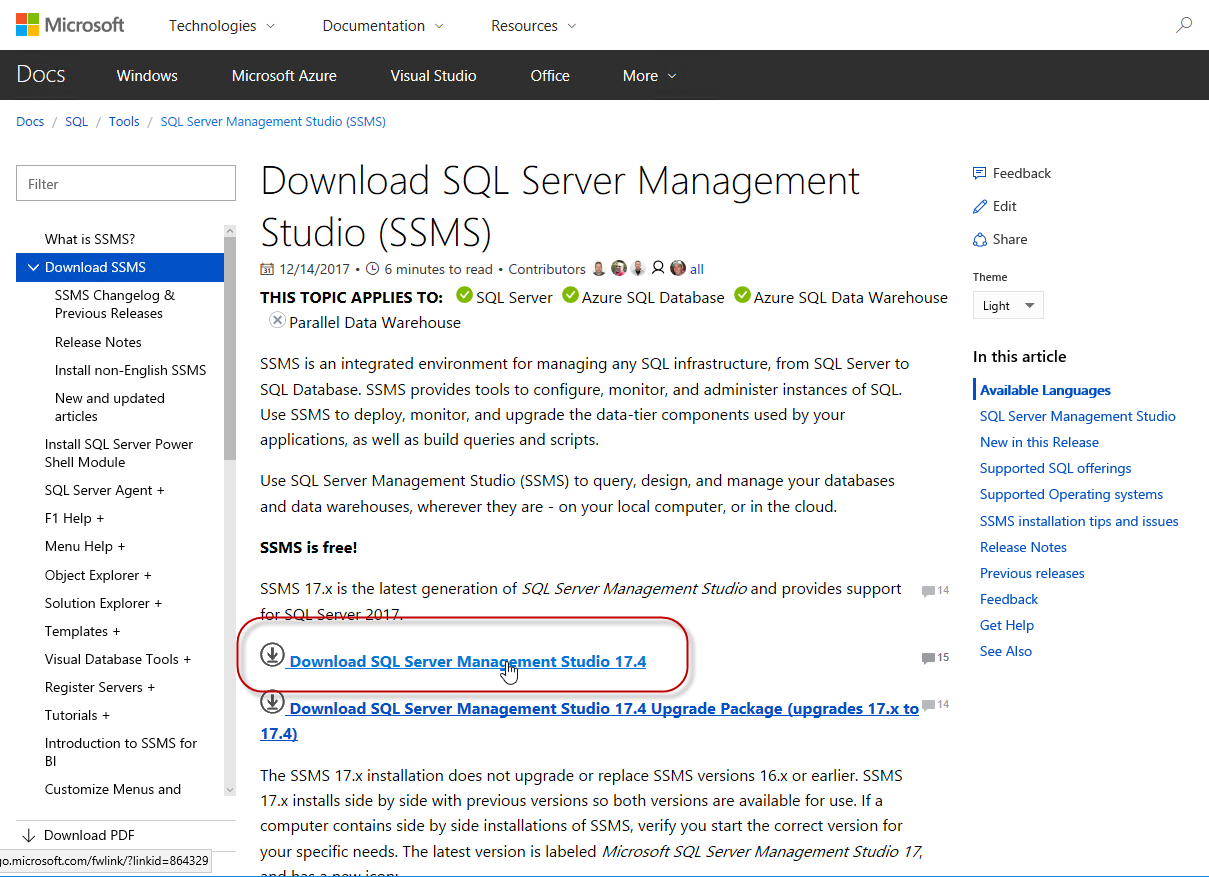
- Back in the SQL Server Installation Center, click on the Install SQL Server Management Tools
- In the resulting Microsoft web page, click on the Download SQL Server Management Studio 17.4
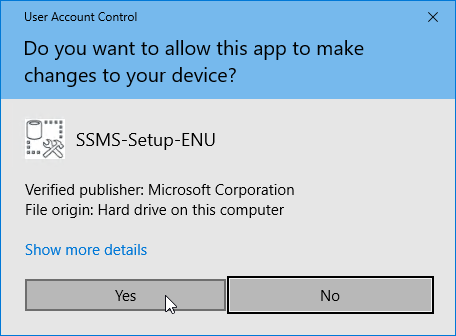
- When prompted by your browser, click Run
- When prompted by the User Account Control, click Yes
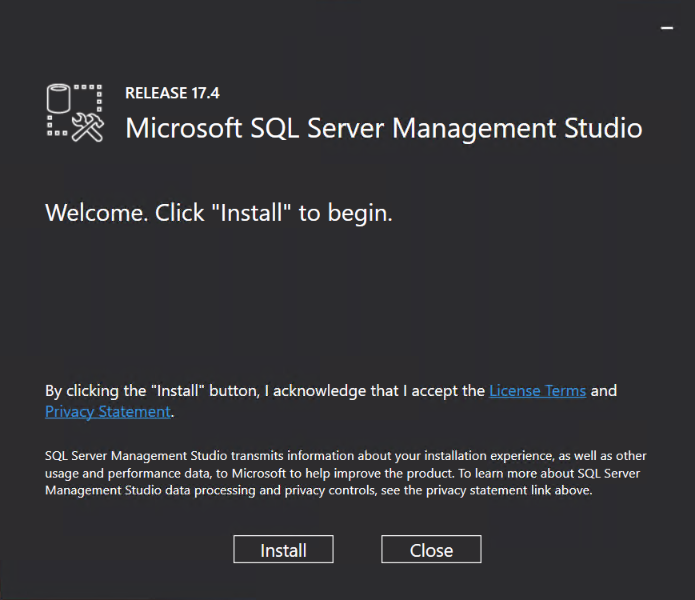
- Follow the instructions for the SQL Server Management Studio
- When done click Close


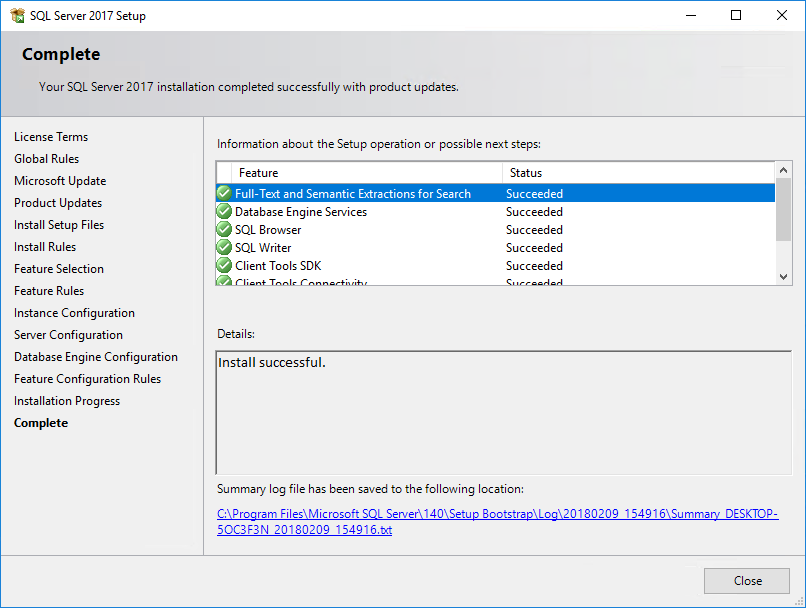


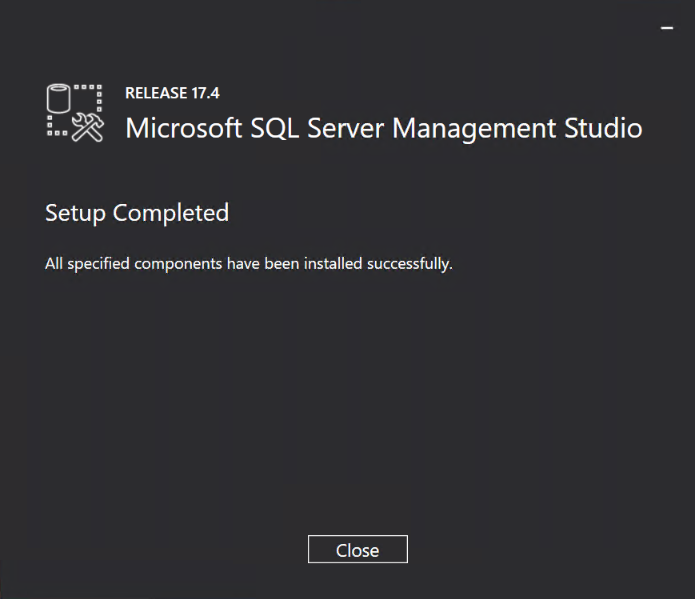
This completes the installation of your SQL Server database instance.
Step 4 – Open the SQL Server TCP/IP Port
You will now need to open the TCP/IP port for your database as this is not done by default during the SQL Express database setup.
Follow these next steps:
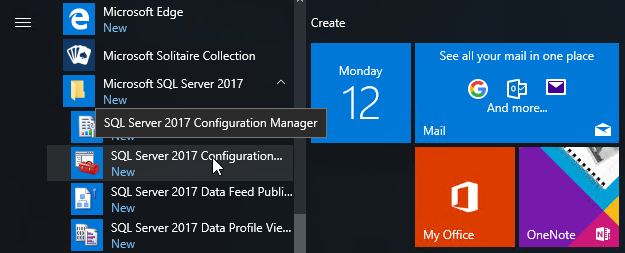
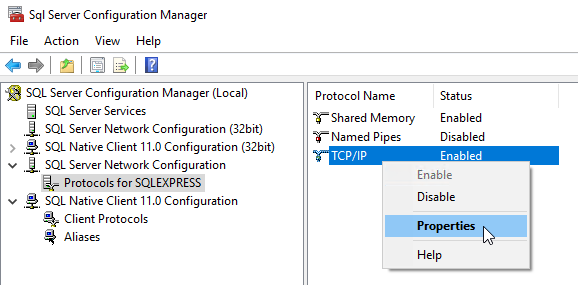
- Click on the Windows Start button and locate the SQL Server 2017 Configuration Manager that was installed as part of the previously described installation process
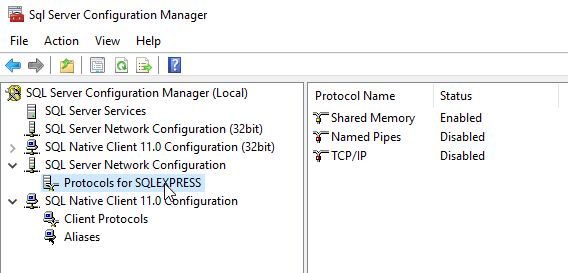
- In the Sql Server Configuration Manager, click on the SQL Server Network Configuration option and select Protocols for SQLEXPRESS
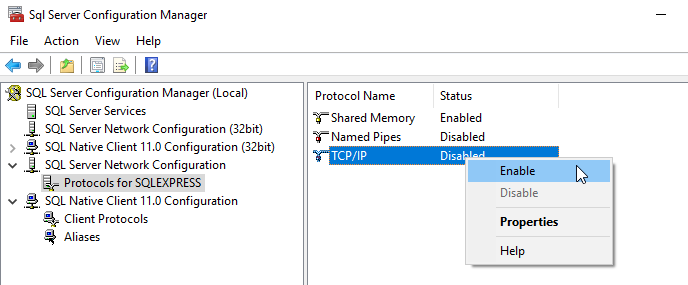
- Right-click on the TPC/IP option and choose
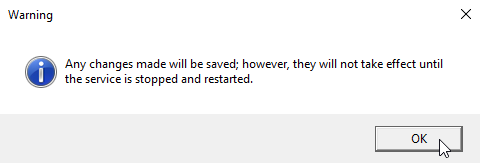
- When prompted click OK. We will address the restart shortly
- Once enabled right-click on the TCP/IP option and choose Properties
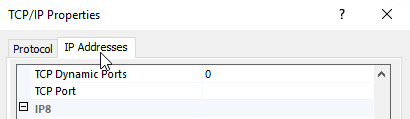
- In TCP/IP Properties, click on the IP Addresses
- Scroll to the bottom of the list
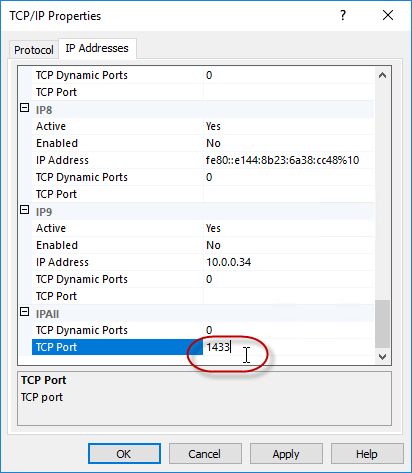
- In the IPA11 area, enter a TCP Port of 1433 on the last row
- Click OK to apply the setting and close the dialog
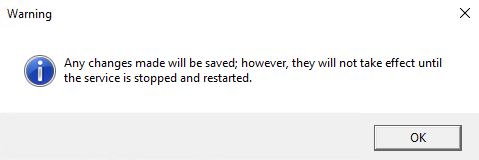
- Click OK in the prompt
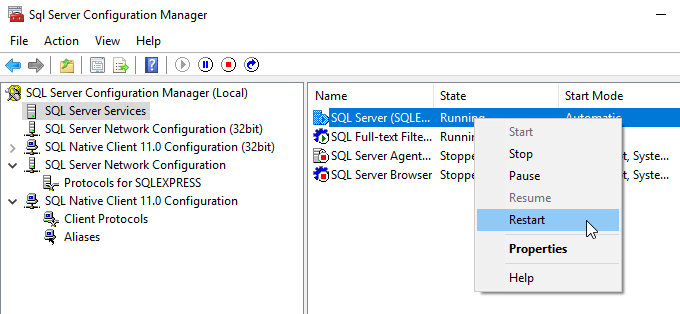
- Back in the Sql Server Configuration Manager, click on the SQL Server Services option and then restart the SQL Server (SQLExpess) instance for your changes to take effect
- Close the SQL Server 2017 Configuration Manager
Step 5 – Run the Primavera P6 Professional Database Setup
This step will allow you to build a Primavera P6 Professional database schema inside your new SQL Express instance.
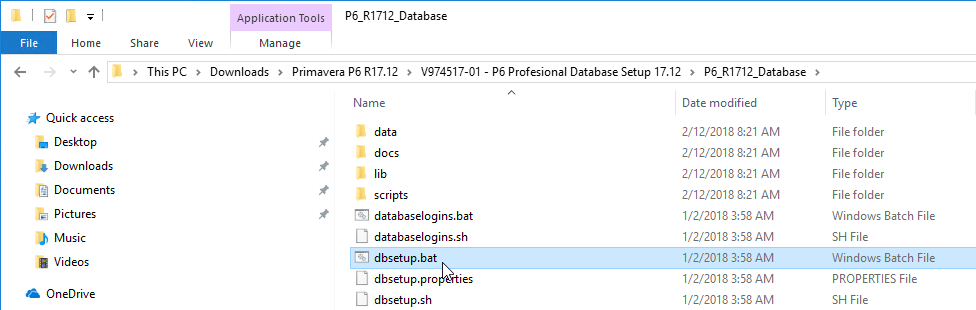
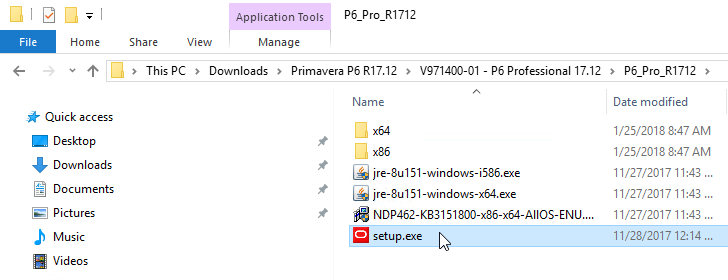
- Locate the P6 Professional Database Setup file from your Primavera P6 media download folder(s)
- In the P6_R1712 (or other version number) folder double-click on the dbsetup.bat file
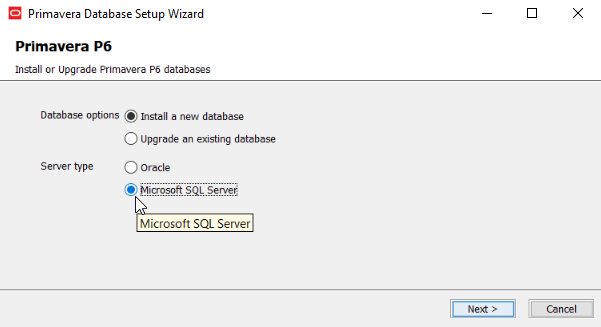
- In the Primavera Database Setup Wizard, select the Install a new database and Microsoft SQL Server
- Click Next >
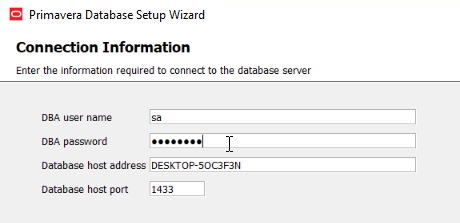
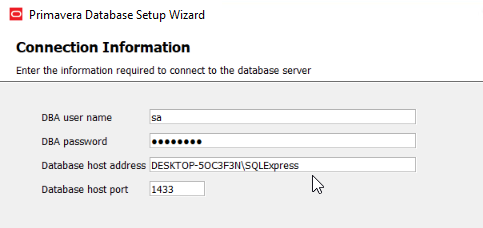
- In the Connection Information dialog, enter the system administrator password for your SQLExpress database instance
- Now add the ‘\SQLExpress’ instance name to your Database host address
- Click Next >
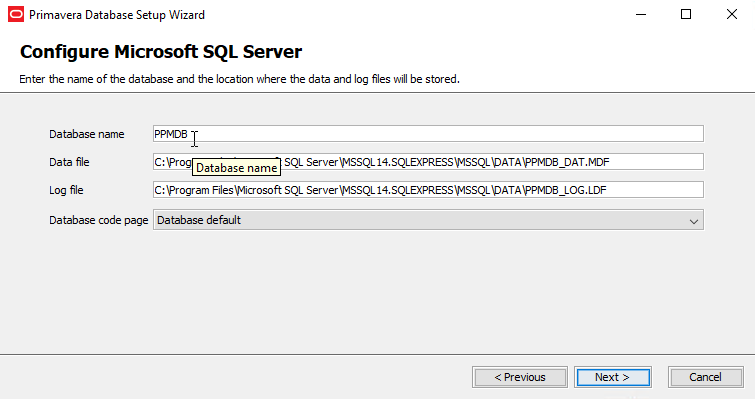
- In the Configure Microsoft SQL Server dialog, enter a name for your database. In this example we are calling it PPMDB
- Click Next >
- In the Create SQL Server Users dialog, enter a password for your privuser and pubuser user logins. Make a careful note of these passwords for future use
- Click Next >
- Enter an admin password. This will be your user password when login in to P6 Professional. Again make a careful note of this as you will need it every time you access P6 Professional. You also have the option to load sample data, recommended if you are planning to use this for any Ten Six Primavera training courses
- Click Next >
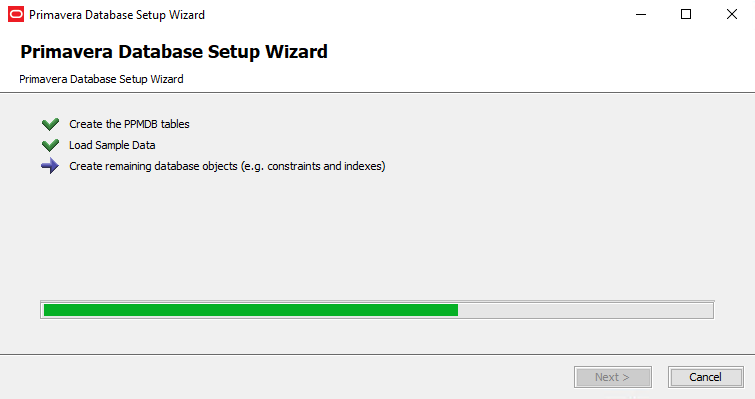
- The process may take a few minutes depending on your machine’s resources
- Click Next >
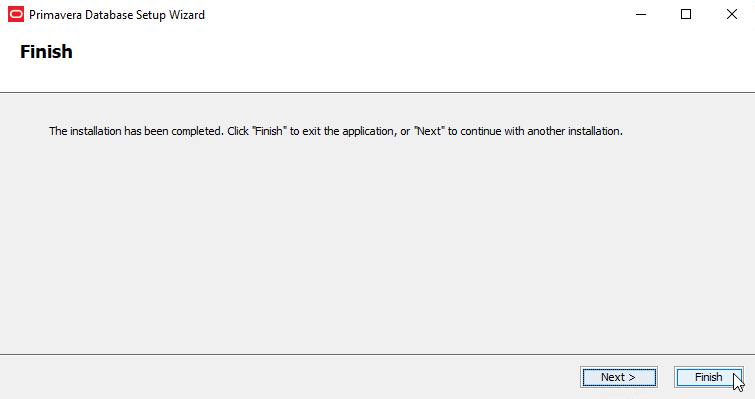
- Click Finish


Step 6 – Install P6 Professional
Now you will need to install Primavera P6 Professional and connect that client to your newly created database.
- Locate the Primavera P6 Professional install media folder
- Double-click on the exe file
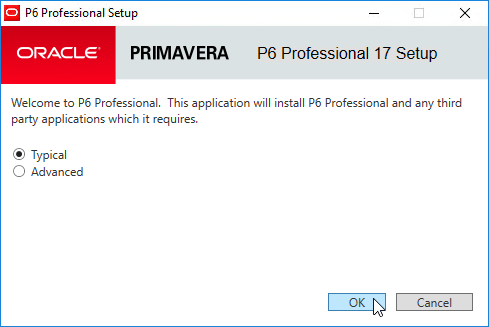
- In the P6 Professional Setup dialog, go with the Default Typical option and click OK
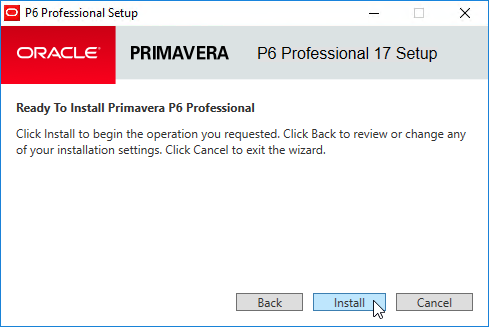
- In the Ready to install Primavera P6 Professional dialog, click Install
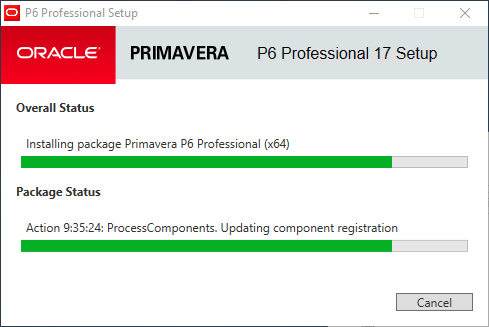
- The installation will start
- In the next dialog, go with the Default ‘Run Database Configuration’ option and click OK
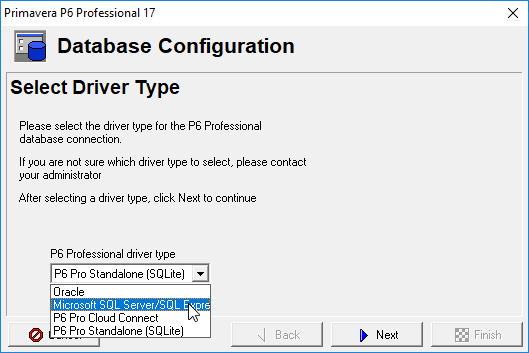
- This will open the Database Configuration Select the Microsoft SQL Server/SQL Express option
- Click Next
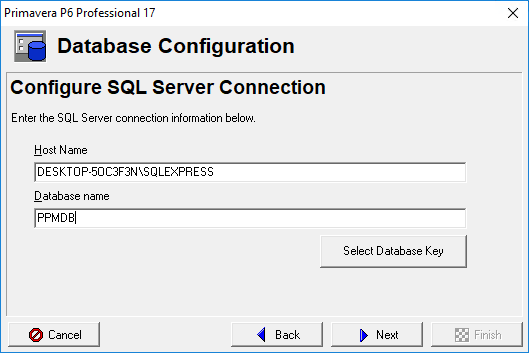
- In the Configure SQL Server Connection dialog, enter the Host Name and Database Name for your newly created database instance
- Enter the Public User Name and Password for your database
- Next
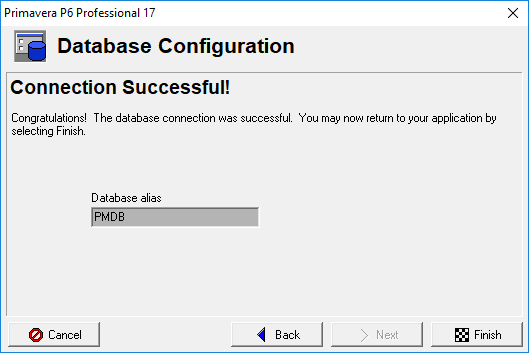
- In the Validate Database Connection dialog, click Next
- If you have entered everything correctly, you should see the Connection Successful
- Click Finish to close out all your Primavera P6 installation dialogs
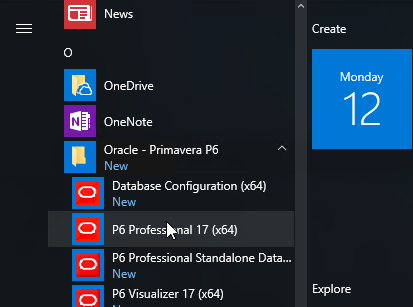
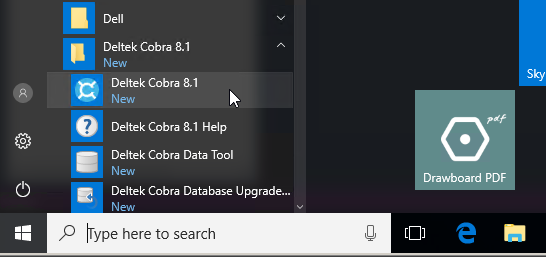
- In the Start menu, locate and run the Primavera P6 Professional
- In the Login dialog, enter the Admin password you created during the database setup process
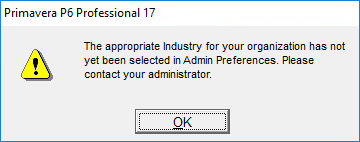
- The first time you access your new P6 Professional database you will be prompted to provide an industry setting. Click OK
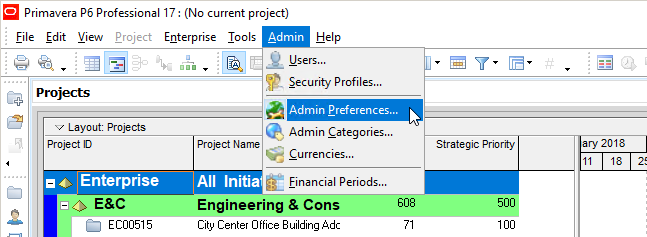
- In P6 Professional, click on the Admin | Admin Preferences…
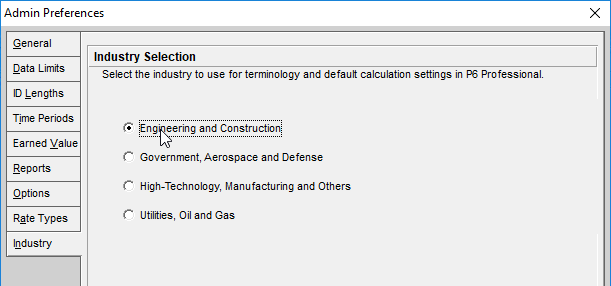
- In the Admin Preferences dialog, select the Industry tab and click on one of the industry radio buttons
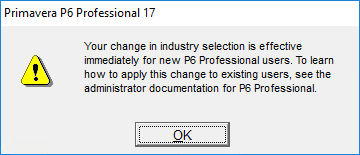
- Click Close to save the changes
- Click OK to the prompt


You Primavera P6 installation is now ready for use.
Step 7 – Install Deltek Cobra
Now we will need to setup Deltek Cobra as a standalone on this machine. Again we will be using the same instance of Microsoft SQL Server 2017.
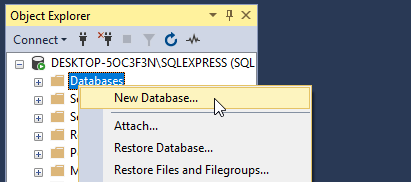
- Open SQL Server Express Management Studio
- In the Object Explorer, right-click on the Databases option and select New Database…
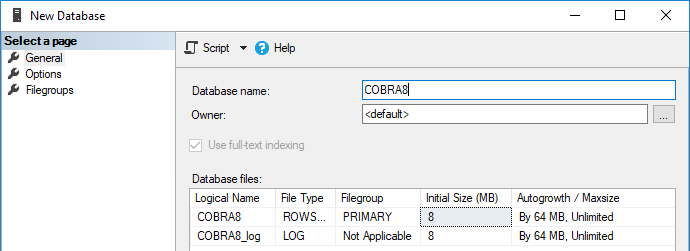
- In the New Database dialog, enter a database name of COBRA8
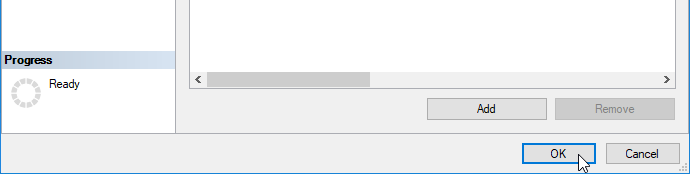
- Click OK to create the new database
- Now we are ready to install Deltek Cobra
- Locate the Deltek Cobra 8.3 (or later) media folder
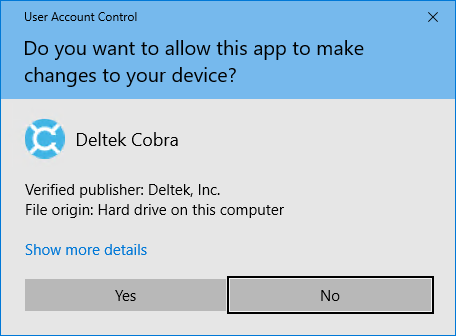
- Double-click on the exe file
- Allow the program to make changes to your system
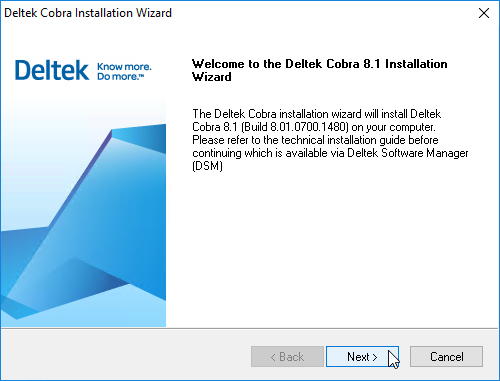
- In the Deltek Cobra Installation Wizard, click Next >
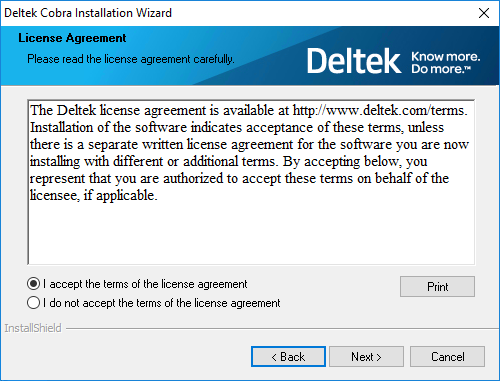
- Accept the license terms and click Next >
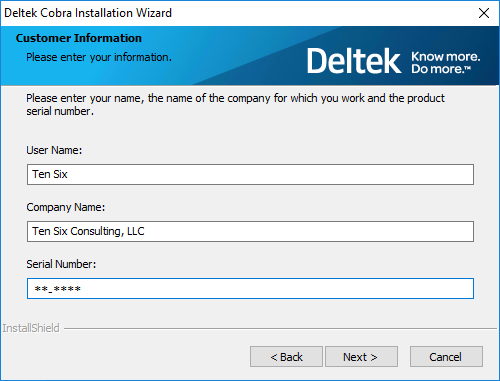
- In the dialog, enter your name, company and the serial number provided by Deltek and click Next >
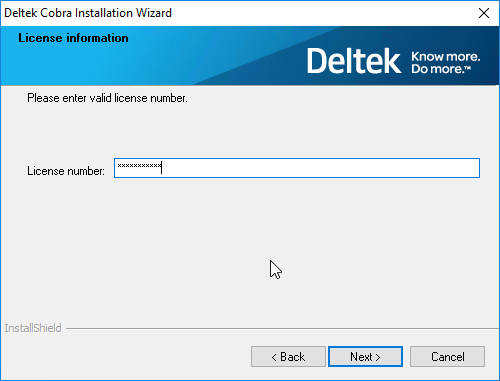
- Enter a valid license number and then click Next >
- Click Next >
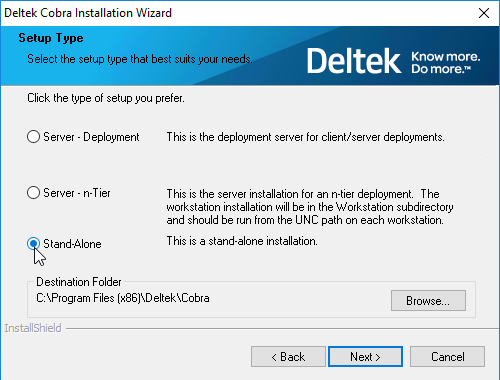
- Select the Stand-Alone
- Click Next >
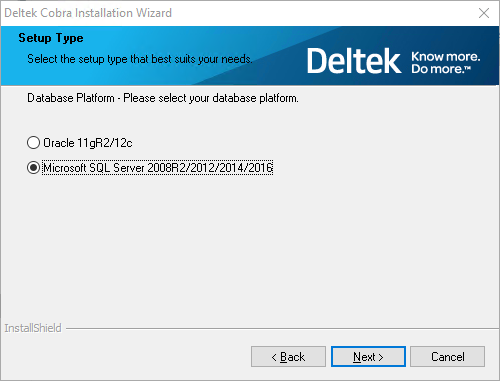
- Select the Microsoft SQL Server
- Click Next >
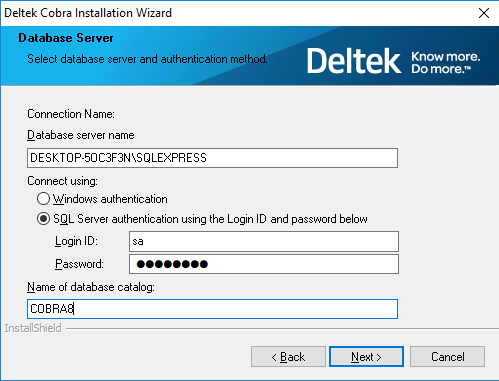
- In the Database Server dialog, enter the particulars for your SQL Server instance as shown in the example below
- Click Next >
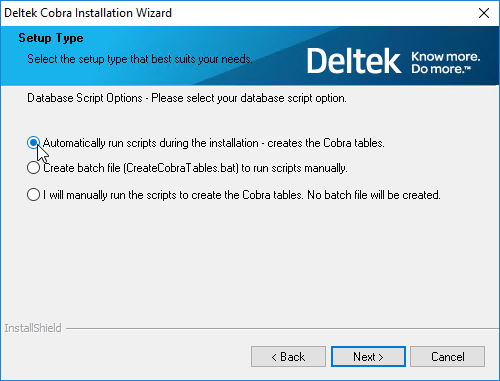
- Select the ‘Automatically run scripts during the installation’ option. This will create the required Cobra tables in your new database
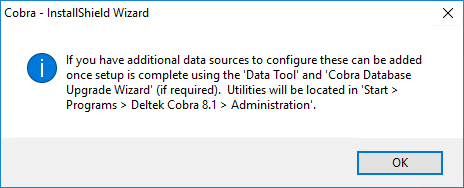
- Click OK at the prompt dialog
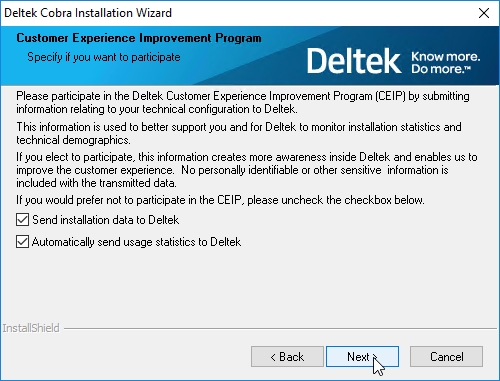
- Click Next in the Customer Experience Improvement Program
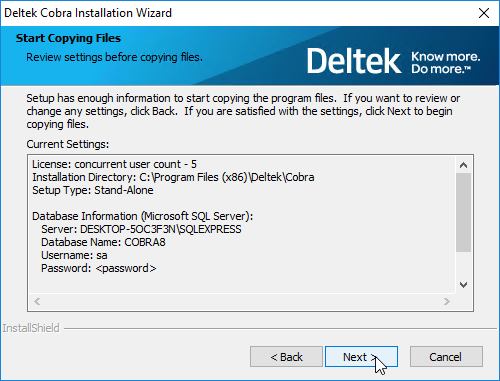
- Click Next to start copying installation files
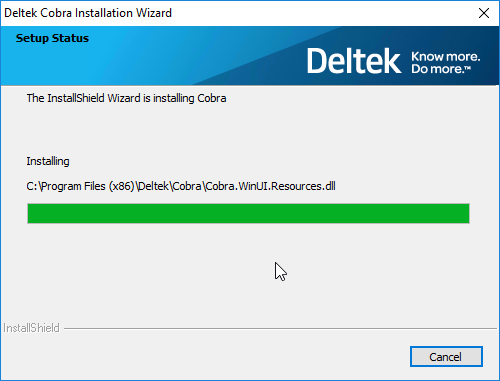
- You can track the progress in the Setup Status
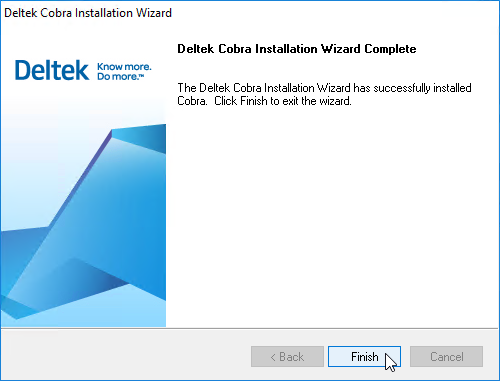
- When the process is complete, click the Finish
- Deltek Cobra will now be installed on your system. Run the program from the Start menu to test your installation. Note the default user and password for Deltek Cobra are: SYSADMIN and password

Step 8 – Setup an ODBC Data Source that points to the new Primavera P6 Database
The next step in this process is to setup an ODBC data source so that other systems, such as Cobra can access the database for integration.
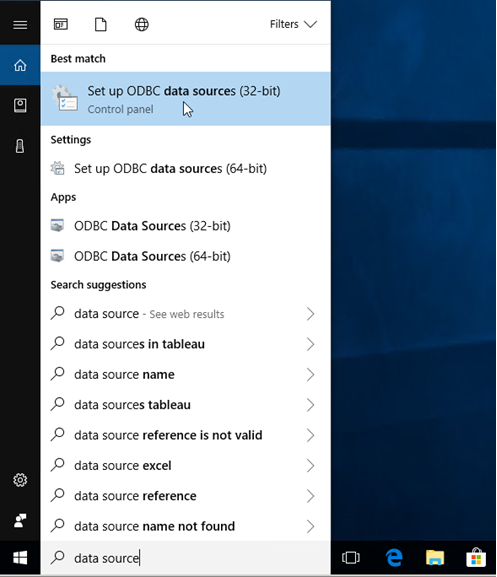
- In the Windows search field, type ‘data source’ and click on the resulting Set up ODBC data sources option in the list. Select the appropriate 32-bit or 64-bit depending on your system. If offered both, select 64-bit
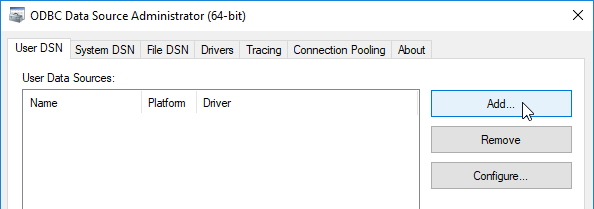
- In the resulting dialog, select the User DSN
- Click on the Add button
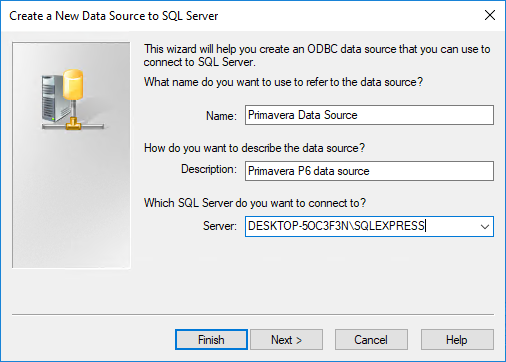
- In the Create a New Data Source to SQL Server dialog, enter a name and description for your data source
- Enter the server name in the Server: This is typically the PC name \ instance name. In this example: DESKTOP-5OC3F3N\SQLEXPRESS
- Click Next >
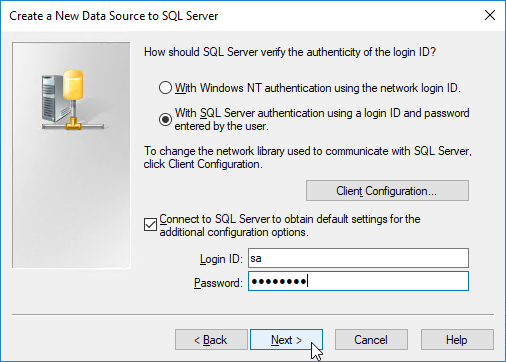
- Enter the login credentials you setup during the SQL Server installation
- Click Next >
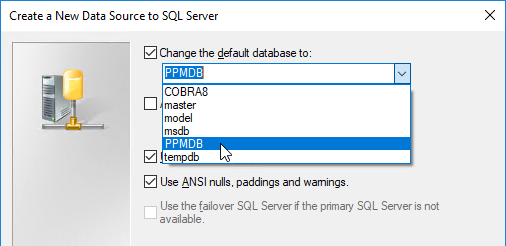
- Check the ‘Change to default database to:’ option to the PPMDB database you created for P6
- Click Next >
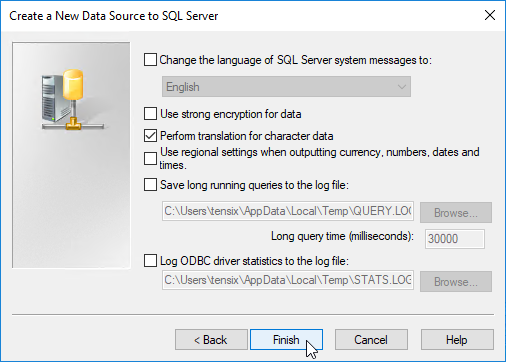
- Go with the defaults and click Finish
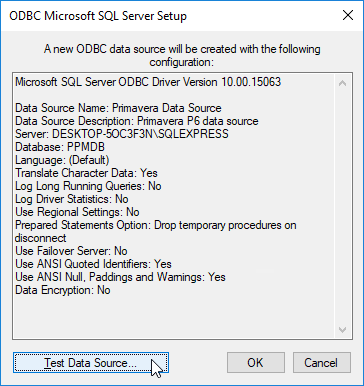
- Click on the Test Data Source…
- Verify that the data source is working correctly. If not go back and verify your settings
- Click OK
- Close the Data Source


This data source will now be available in the Oracle Primavera integration wizard.
Step 9 – Create a connection to the Primavera P6 data source in Deltek Cobra
Now all that remains to do is create a connection to the Primavera Data Source in Cobra’s integration wizard.
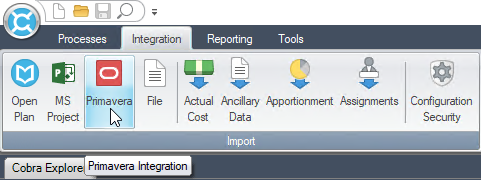
- In Deltek Cobra, click on the Integration
- Click on the Primavera button
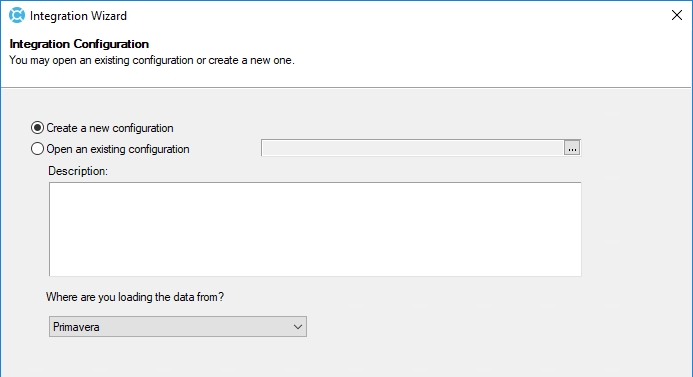
- With ‘Create a new configuration’ selected, click Next >
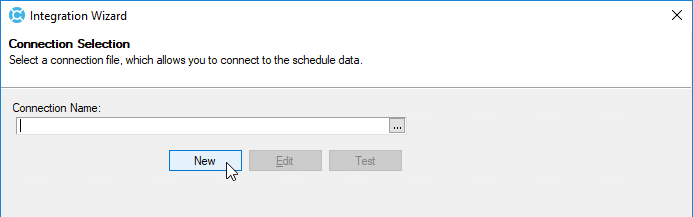
- In Connection Selection click New
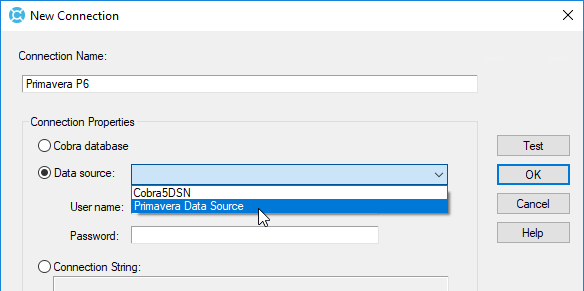
- In the New Connection dialog, Enter a name for your connection
- Select the Data source: radio button and select your Primavera Data Source
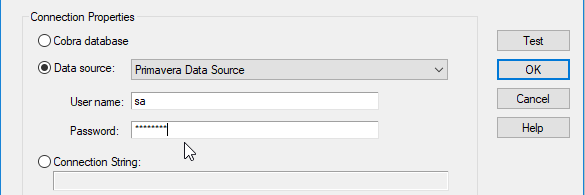
- Enter a User name: and Password:. This is the same ‘sa’ username and password you use to login to the SQL Server database instance
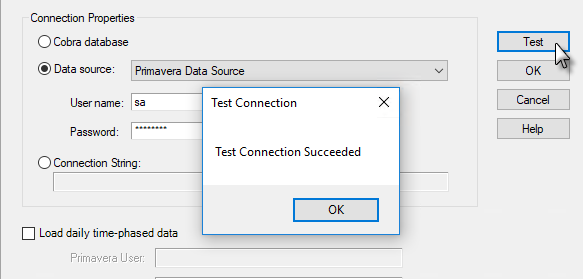
- Click the Test button to verify that the data source is working
At this point, you will need to create a project in Deltek Cobra and its IMS in Primavera P6. Then you can use the Deltek Cobra integration with Primavera P6.
The Deltek Cobra integration with Primavera P6 process is explained in detail in the our Deltek Cobra Fundamentals training class available for online, onsite and public classes.