How to Adjust the Row Height in Microsoft Project
Often schedulers have to adapt the presentation of their schedules in preparation for reporting to stakeholders. A common reason is to make them easier to read. Space on Gantt charts is usually sparse and as so, schedulers can be used to small row heights to itemize all the project tasks. However, for stakeholders to be able to read details, it may be more aesthetically pleasing to adjust the row height in the schedule.
To adjust the task table row height in Microsoft Project, you cannot just right-click on any row like in Microsoft Excel. Let’s explore how it is done, and really, it’s quite easy.
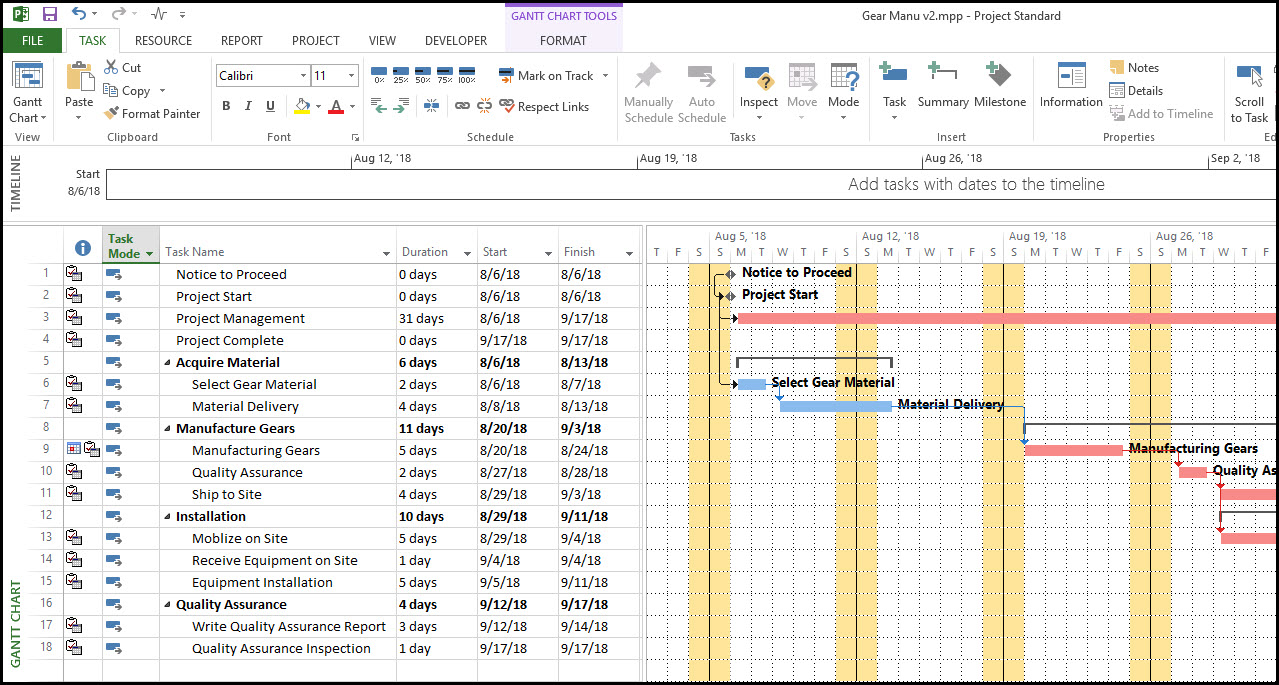
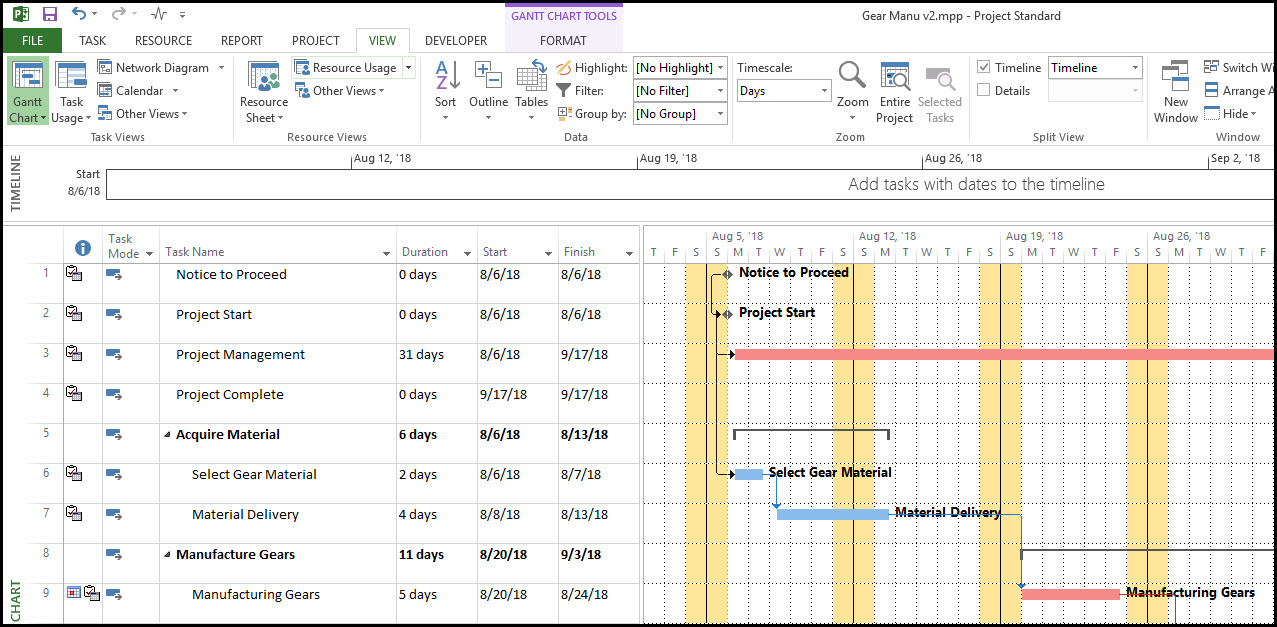
In our ‘Gear Manuv2.mpp’ example project (shown above), we’ve been tasked to make our schedule easier to read for a stakeholder meeting. One thing we decided, is to expand the row height for the ‘Task Name’ ‘Duration’, ‘Start’ and ‘Finish’ headings.
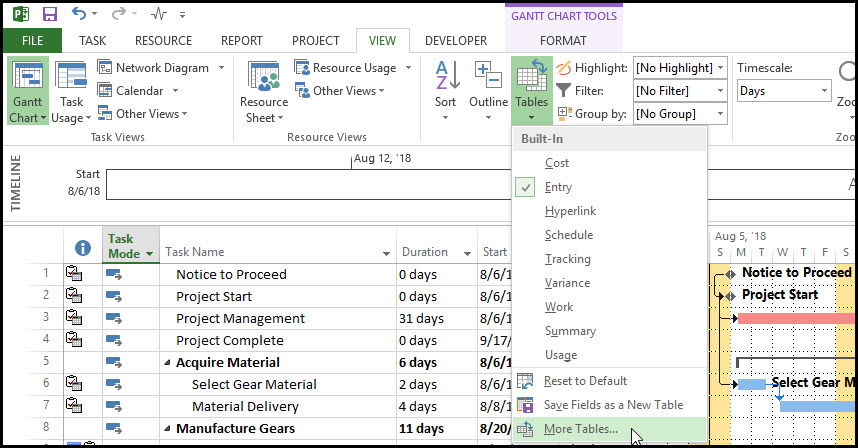
We select the ‘VIEW’ tab and from the data ribbon, we select ‘Tables’. From the tables dialog box, we click on ‘More Tables’.
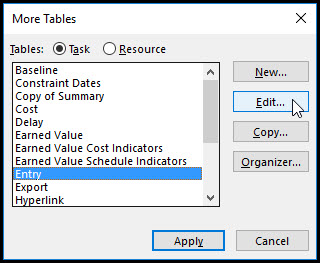
In the ‘More Tables’ dialog box by highlighting ‘Entry’ and clicking ‘Edit’.
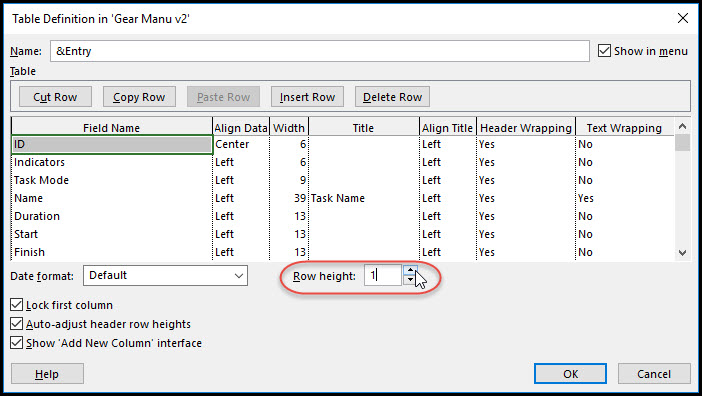
We can toggle to increase the ‘Row height’ and once you’ve arrived at the appropriate row height number, you can then click OK.
And voilà, you’ve now successfully adjusted the height of the rows in Microsoft Project. This is shown below in our schedule which is now ready to print out for the stakeholder meeting.
Summary
Adjusting the row height in Microsoft Project is a fairly easy task, once you have located the ‘Tables’ option. As well as row height, Microsoft Project supports copying, inserting and deleting rows similar to Microsoft Excel. This will allow you to customize your Gantt chart into an easy to read document for the stakeholders.