Reviewing schedules and collaborating with colleagues during meetings can be made easier using line numbers in Primavera P6. This can be especially true with large projects where Activity Id’s can be long and complex. Layouts that include line numbers in Primavera P6 are also helpful when comparing updates of a schedule.
So how do you display line numbers in Primavera P6? It’s very easy, so let’s show you how to do it.
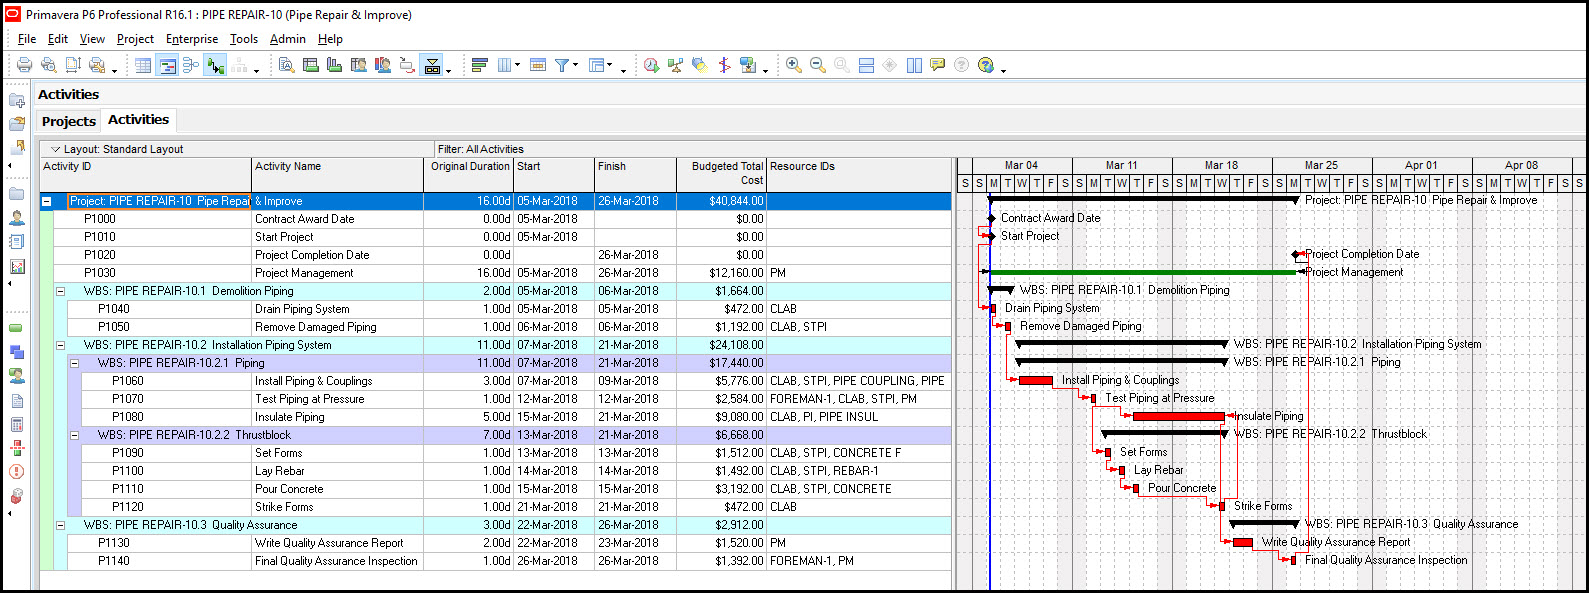
In Figure 1, we have our ‘PIPE REPAIR-10’ project. We want to insert a line numbering column so that our colleagues can easily reference the Work Breakdown Structure (WBS) elements and activities.
 Figure 1
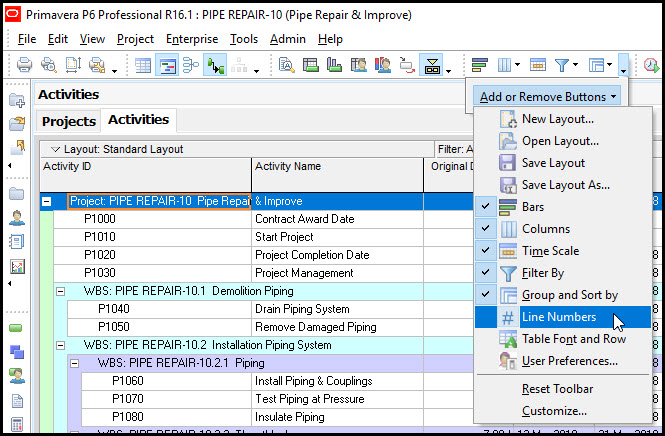
To include the line numbering feature in the layout tool group, we click the arrow down on the far right of the tool layout group, as shown below in Figure 2. If we click on the popup ‘Add or Remove’ buttons, a drop-down menu then appears.
Figure 2

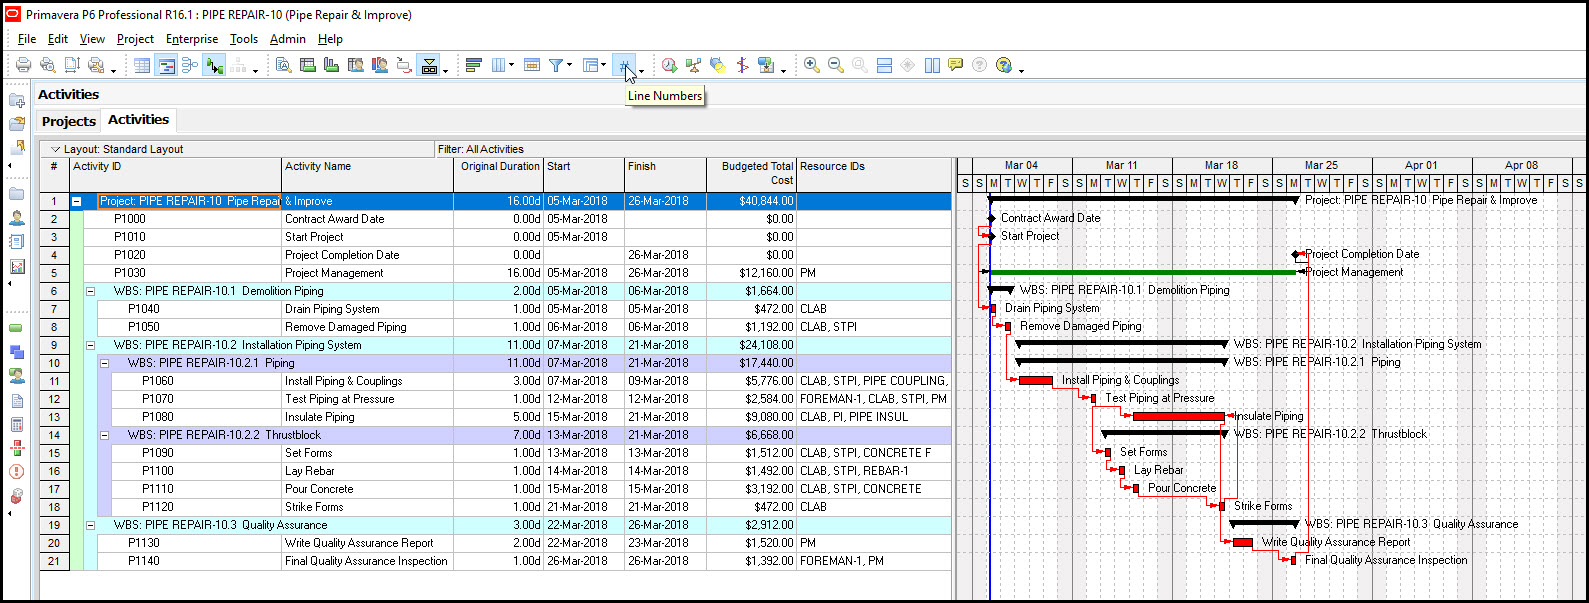
We select the ‘#Line numbers’ option as shown in Figure 3 below.
Figure 3
And voilà, our line numbering column is now inserted into our activity table, as you can see below in Figure 4.
Figure 4
Summary
Primavera P6’s activity naming can be long particularly on large schedules. This is because it may include an Activity ID, prefix/suffix. Also, the WBS elements will have unique codes as well. By inserting a line number column in P6, schedulers can more easily reference WBS elements and activities. This can speed up the time it takes to review schedules with colleagues.
Line numbers In Primavera P6 also help reference the same activity between different schedule versions. If you reference the same activity between versions, the line numbers should match; if they don’t then you may need to take a closer look at the schedule versions for any differences.