If you’ve been wondering how to use the Work Products (WPs) & Documents (Docs) feature of Oracle Primavera P6 Professional, this article gives you’re the basics to get you started.
Project related documentation can be cataloged and tracked in Primavera P6 using the Work Products and Documents feature. The following steps show how to add documents to the P6 database and then assign them to your projects.
Step 1 – Adding WPs & Docs to your Primavera P6 Database
1. Open the project you wish to assign WPs and Docs to.
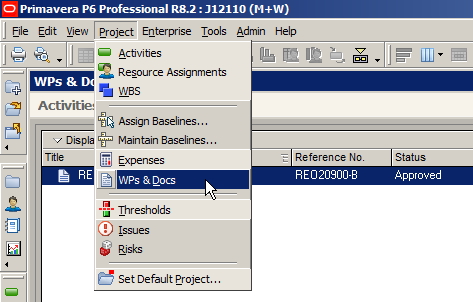
2. Click on the Project menu.
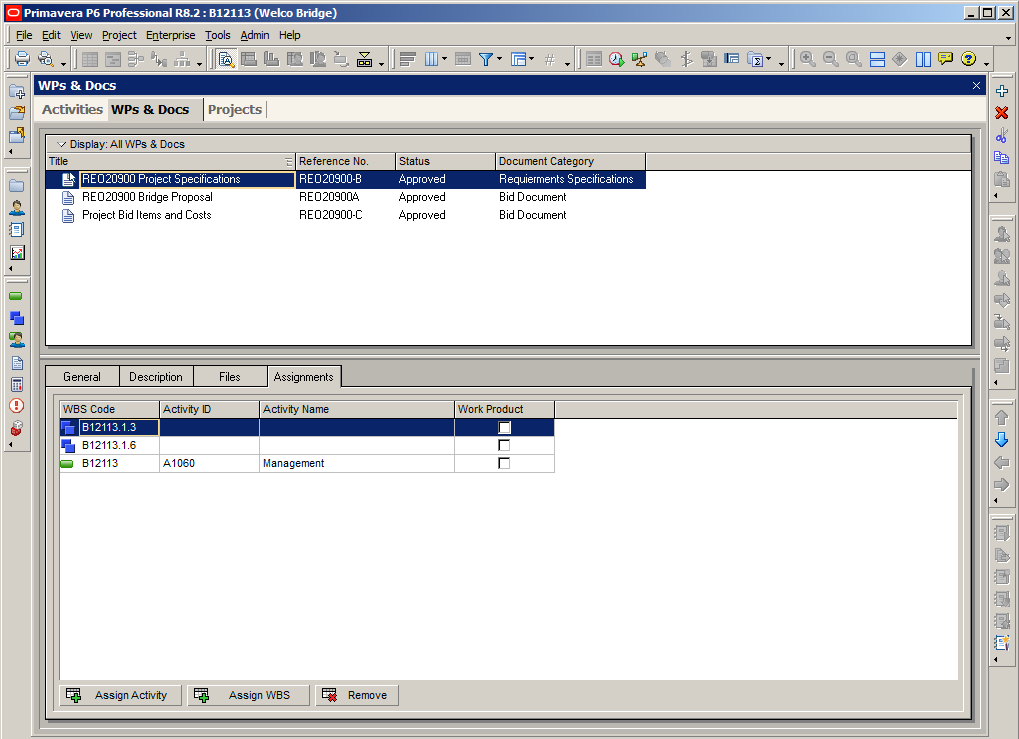
3. Choose the WPs & Docs option.
4. In the WPs & Docs window, right-click in the table area and choose Add.

5. In the new row, enter a Title, Reference No., Status and Document Category for the new document.

These items can be entered on the row itself or in the General tab at the bottom of the page.
6. In the Description tab, enter a description for the document.
7. In the Files tab you can assign a document using the Private Location or Public Location field’s ellipse buttons.
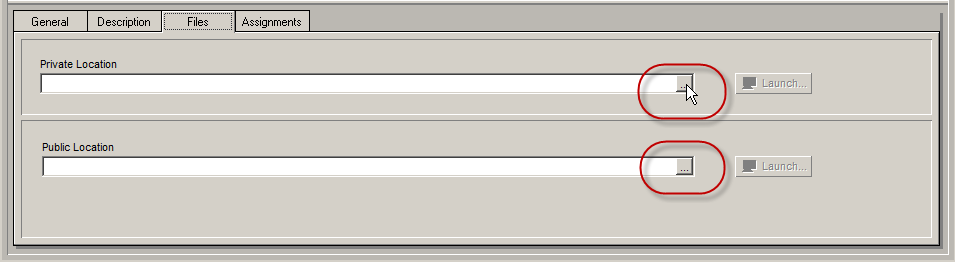
Note: Private location references can only be viewed by P6 users. Public location references can be viewed by all project stakeholders. Public locations typically refer to files stored in a shared network location such as a file server, an intranet or Internet location.
8. Click on the ellipse button and in the Select File Name dialog locate the document you wish to add to P6.
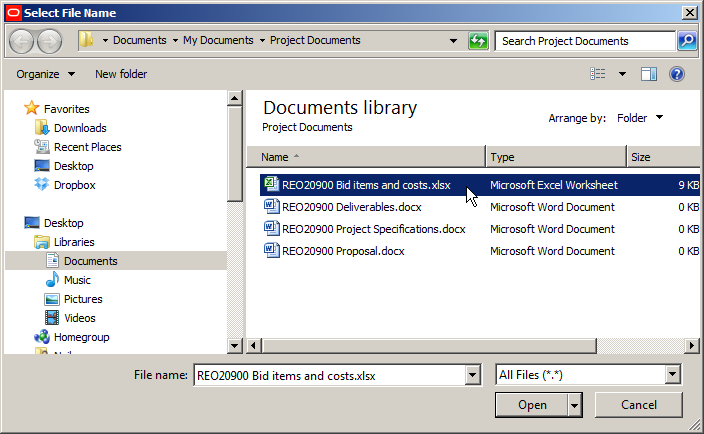
9. Click Open to add the selected document.
Step 2 – Assign the document(s) to an Activity or WBS element.
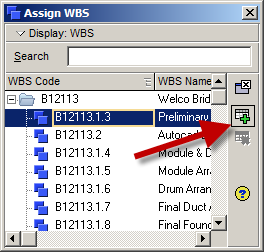
1. In the Assignments tab, click on the Assign Activity or Assign WBS button to assign the selected document to an element of the open project.
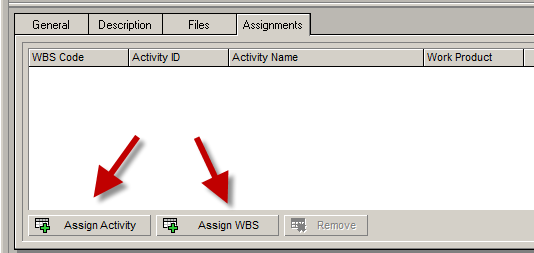
2. Use the resulting Assign WBS or Assign Activity dialog to select the element to which the assignment will be made.
3. Click on the Assign button to complete the assignment.
Note: you can assign the document or work product to one or more WBS elements or activities.
For more Primavera P6 articles click here