The Primavera P6 Print Preview feature offers considerable control over the Header and Footer areas of the printed output. This includes the ability to place up to three Header, Footer and Custom labels into the report.
These are:
- Header Label 1 – 3
- Footer Label 1 – 3
- Custom Label 1 – 3
Placing the tags for these labels into the report is easy enough. You simply select what you want from the drop-down list at the bottom of the Page Setup dialog and use the Add button to insert the label tags into the Add Text area.
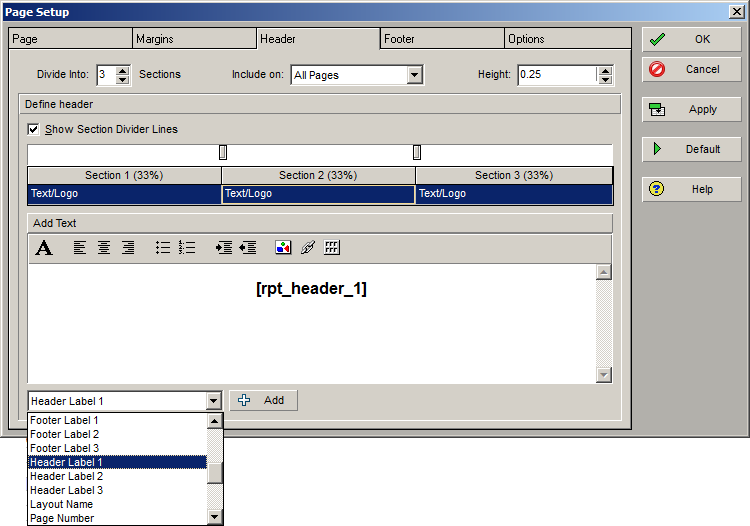
What’s not so obvious is where to enter the text that should appear in these labels when the report is run. It’s hard to find anything documented or published in some of the more popular planning forums to explain this mystery, so I thought I would publish the answer here.
Of all places, the source of these labels is entered in the Admin Preferences dialog in the Reports tab. In here are 9 options for labeling a report.
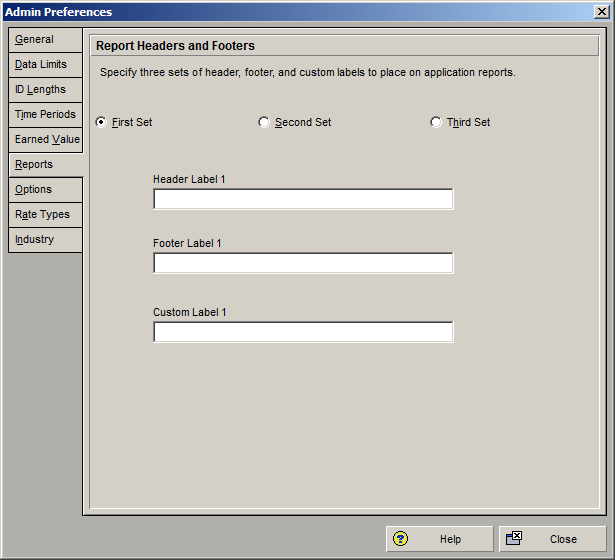
In this tab you can enter the header, footer and custom label values for each of the nine labels. I hope this helps folks who were wondering how this worked and where to enter your report headings text.
For more Primavera P6 articles click here