It may seem like a minor point, but adjusting the task table row height in Microsoft Project schedules is not readily apparent.
At some point in the planning and/or execution stage of the project the schedule is reported to stakeholders. The look and feel of the schedule report is more than just aesthetics; stakeholders must be able to clearly read and interpret the presented schedule.
I would have thought then that adjusting the task table row heights would be as simple as right clicking on any given row and adjusting the row height. It’s not, so some guidance is helpful and a possible time saver.
This article demonstrates the quick tip on how to update task row heights for schedule planning and reporting.
Microsoft Project Row Height Adjustment
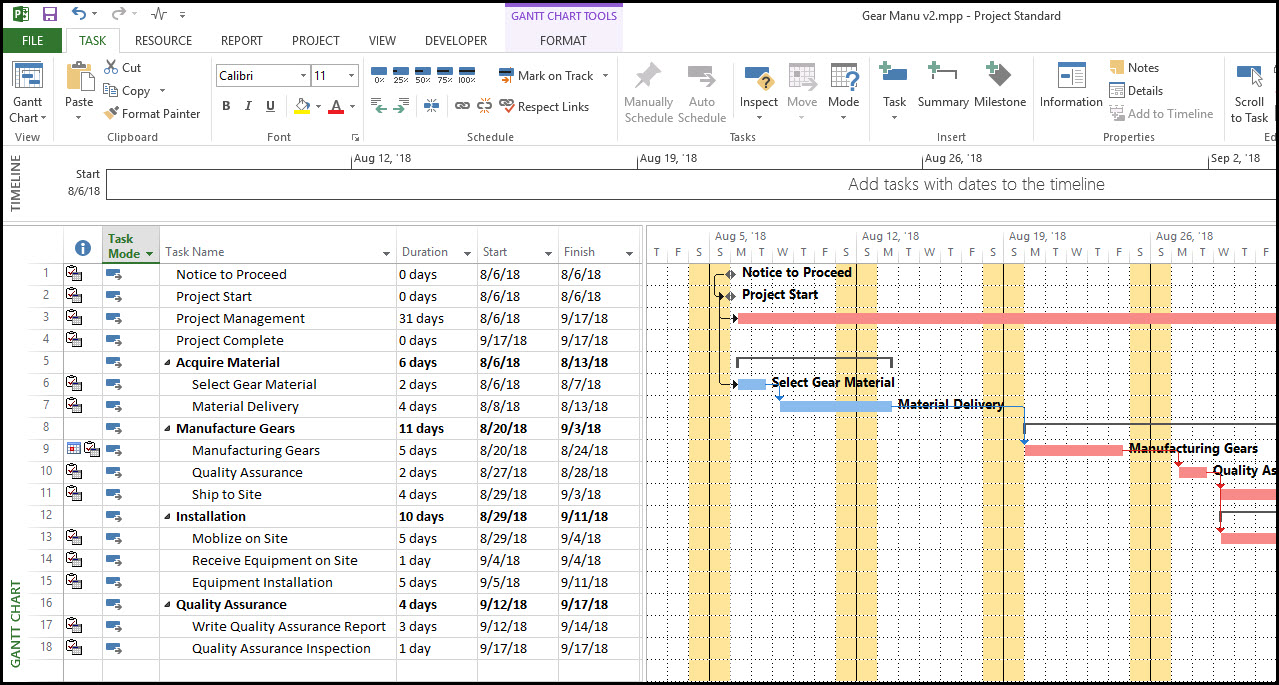
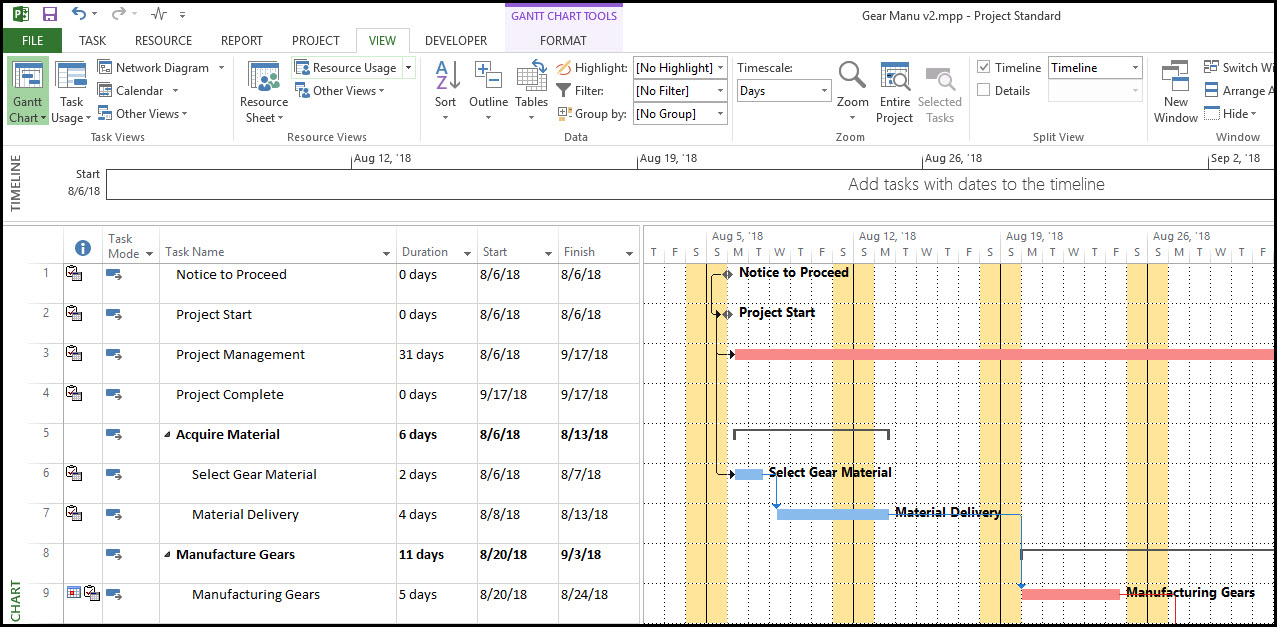
Displayed in Figure 1 is our demonstration project.
 Figure 1
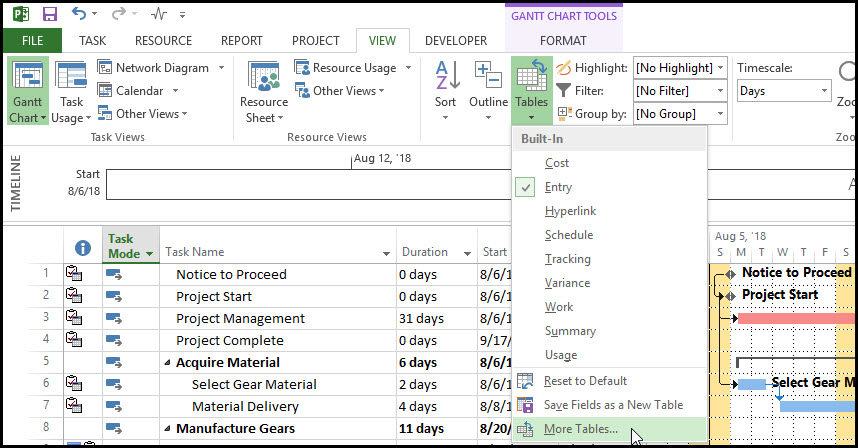
Changing the row height is all about finding the right location where the row height is set. Select the view tab, data ribbon group, and tables, Figure 2.
Figure 2

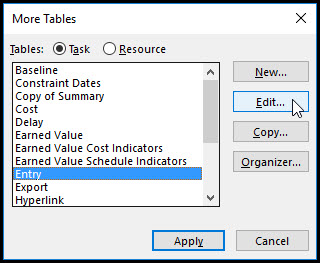
From the drop down menu select more tables, Figure 3.
Figure 3
In the more tables dialog, Figure 4, highlight the Entry table and click edit.
Figure 4
Now we find where our row height setting is hidden in Figure 5.
Figure 5
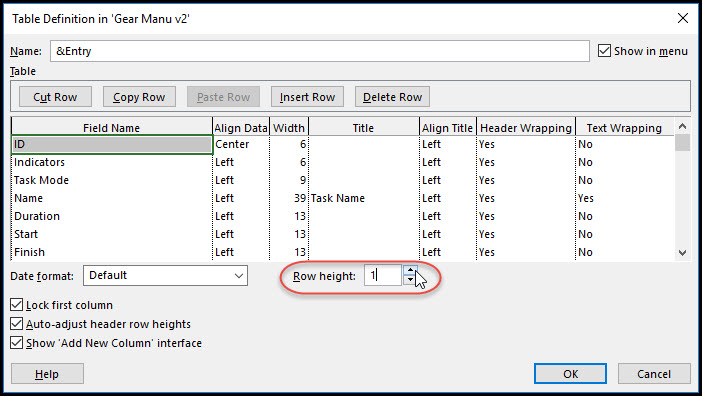
Let’s adjust the row height for the purposes of demonstration. Select ok then apply, Figure 6.
Figure 6

In Figure 7 we see that our row height is increased.
Figure 7
Summary
Sometimes settings that are simple to set in popular software programs like Microsoft Excel are a little more involved in Microsoft Project. But fear not, Microsoft Project does have the capability to adjust row height. Once you find where the row height setting is hidden you will be good to move forward with providing a legible report to your stakeholders.